Warning: Affiliate links appear in the following post. Although shopping the embedded links won’t cost you any additional dollars, it might contribute to an afternoon Starbucks run for me. Your support of my caffeine habit is always appreciated.
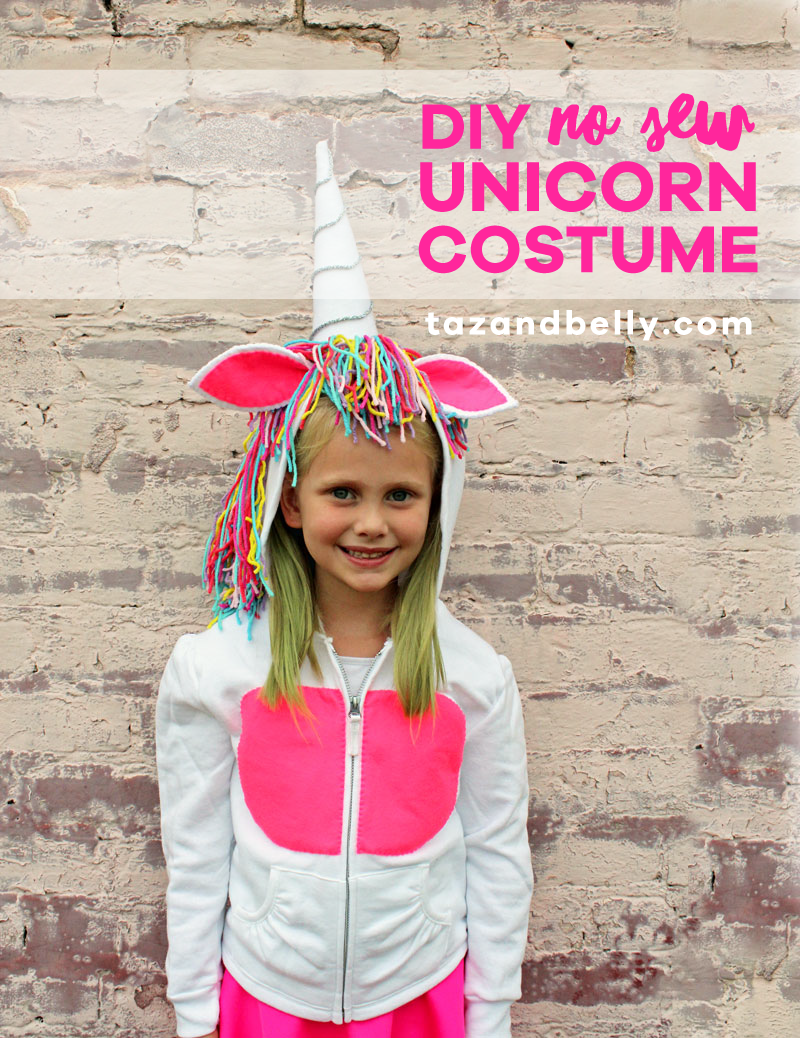
It might still be September (for a few more hours, at least), but we are already in full fall mode at the Rock House and that means Halloween costumes! The girls were chatting about what they wanted to be on the way to school last week, so we decided to go ahead and decide on our costumes so we could share them with you a little early. I have to confess, Sophie was pretty peeved when Ella decided to be Taylor Swift and then I later vetoed a scary, blood-soaked vampire (what in the world?!), but all was right again in the world when we settled on a unicorn costume for her. You might remember that she’s been obsessed with unicorns since her birthday party earlier this year and she can’t wait to sport this little number for all of her friends next month.
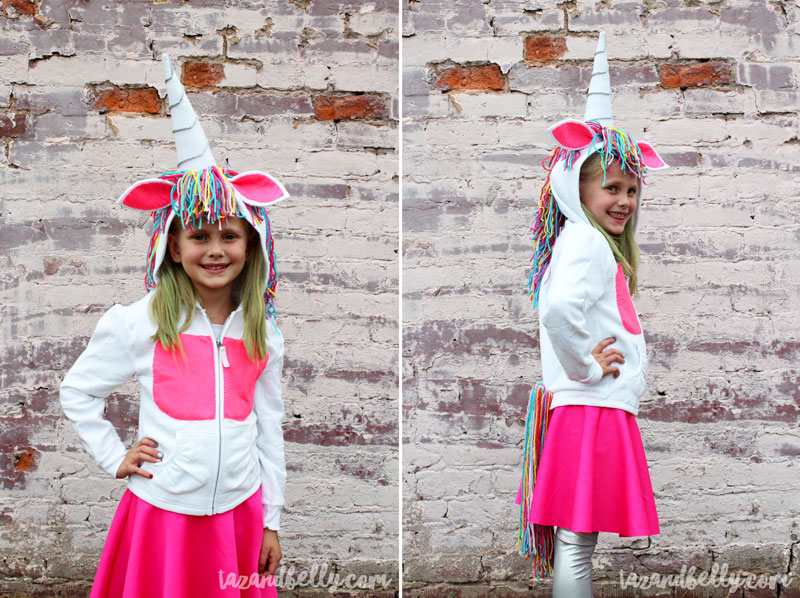
For those of you panicked over the words “diy” and “costume,” have no fear. Although I did use needle and thread in several places, this costume is super easy to make and can be constructed using hot glue only — no sewing skills are required! The skirt and leggings we already had in our arsenal and a quick Amazon search yielded the perfect white hooded sweatshirt for less than ten dollars. The thing I like most about this costume, is you can fancy it up with a tutu skirt or add simple white leggings for a full-on unicorn look, BUT you can easily throw this on over your cutest Matilda Jane combo and call it day. Let’s take a look and see how we pulled it together!
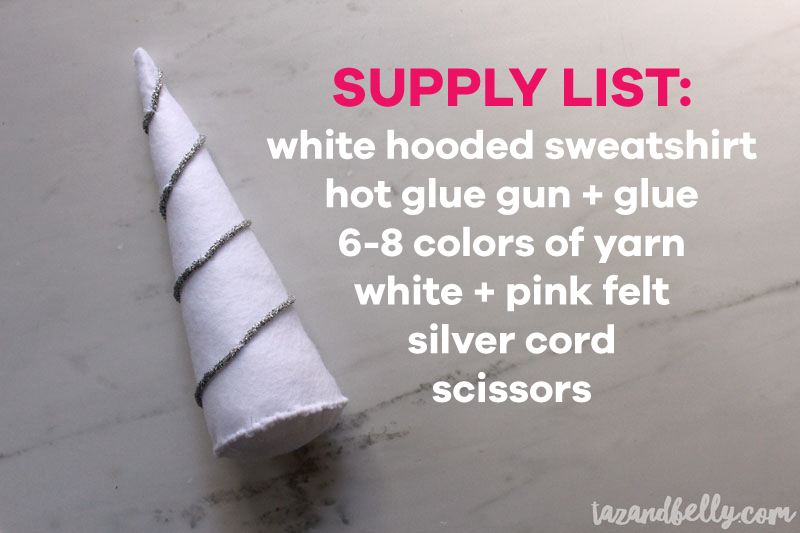
In addition to the sweatshirt, you’ll need a few other basic supplies — some of which you probably have stashed away somewhere! A hot glue gun and glue sticks will work perfectly if you’re afraid of sewing, but E6000 or fabric glue would work well, too. I picked up six skeins of yarn in a few of Sophie’s favorite colors for the mane and tale. You won’t need much felt, so I would suggest getting letter sized sheets at your local Hobby Lobby. One or two per color should be plenty! For the detail on the horn, you could use any decorative trim, but we loved this silver tinsel cord the very best!
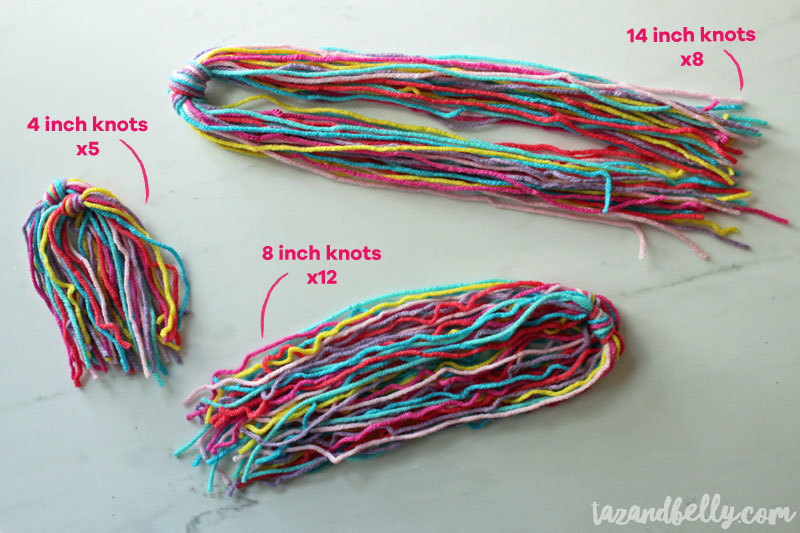
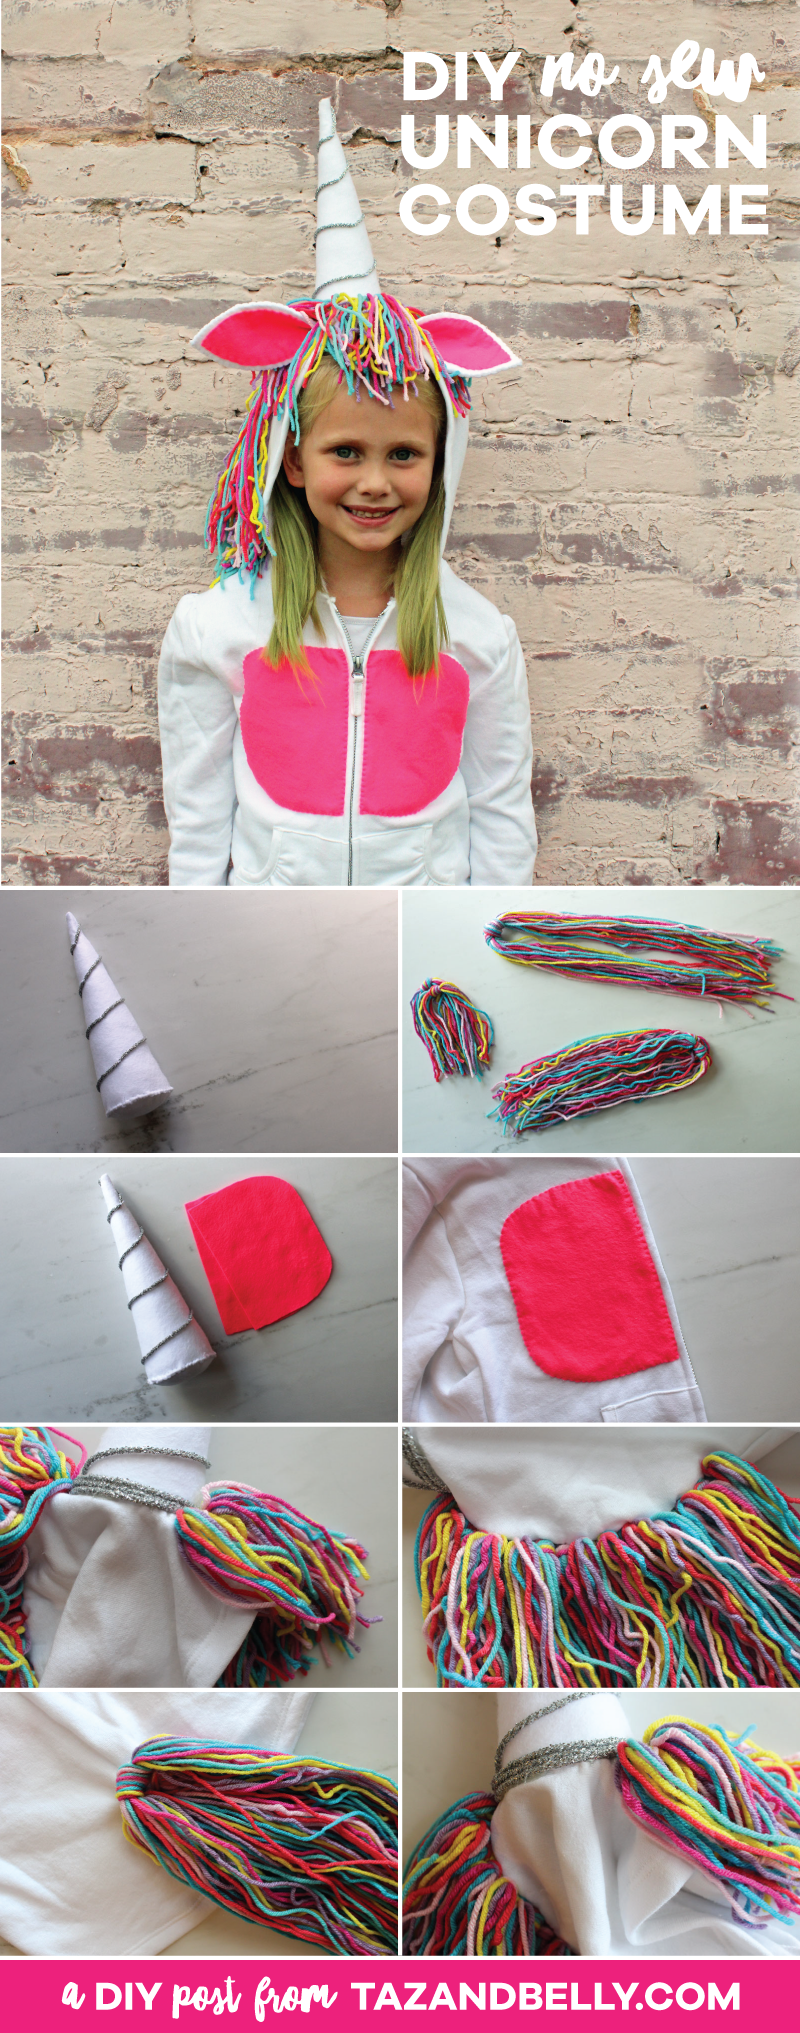
Start by cutting your yarn into lengths to create the mane and tale. I took the ends of each yarn color and measured double for each of the finished lengths. So for the 4 inch knots, I measured 8 inches twice and then knotted that bundle in the middle — you’ll need five of these. For the 8 inch knots, I measured 16 inches twice and then knotted that bundle in the middle — you’ll need twelve of these. For the 14 inch knots, I measured 28 inches twice and then knotted that bundle in the middle — you’ll need eight of these. Keep in mind that your unicorn might be taller or shorter than mine! These lengths are suggestions based on what we used, but you might need to adjust them slightly to fit your costume. Once you have all of your knots created, trim any stray threads so that they are uniform in length.
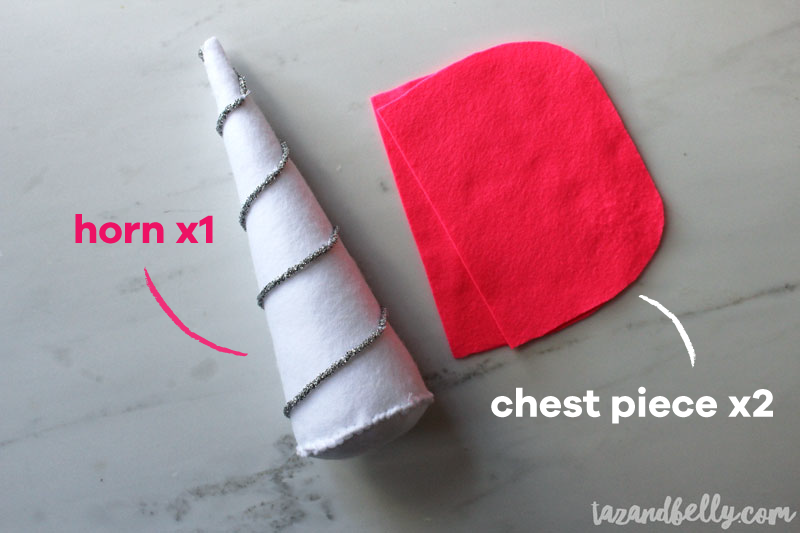
For the unicorn horn, follow the instructions in our birthday tutorial (you can even download a printable template here). For the chest pieces, I cut two rounded rectangles from the pink felt. I did not include these on the template, since the size will depend on your sweatshirt and child. Simply cut two rectangles that will fit onto the front of the sweatshirt, above the pockets, and then round the two outer corners.
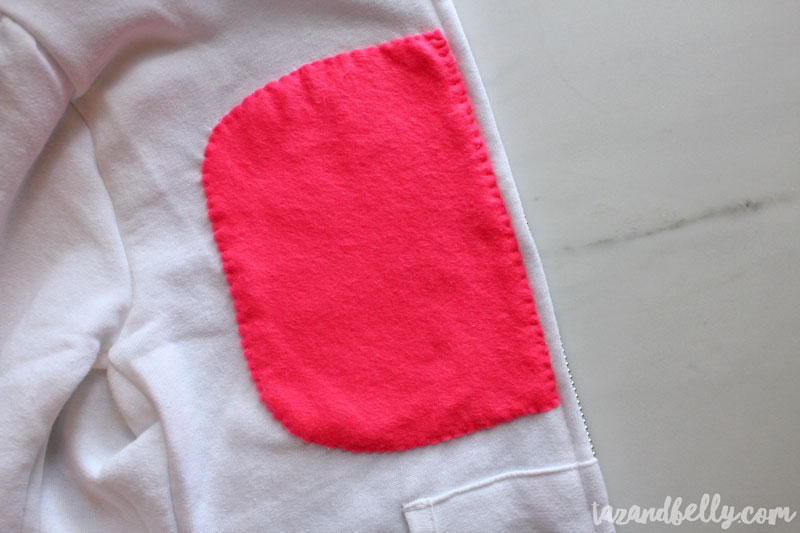
You can attach these easily with hot glue or fabric glue. I lined the straight side of my chestpiece up with the zipper seam and then added a bead of hot glue all the way around and in the center. I didn’t put it too close to the edge, since I knew I wanted to add a whipstitch to finish the edges and the dried glue would be hard to sew through. If you aren’t using any thread, just get the glue as close to the edges as you can!
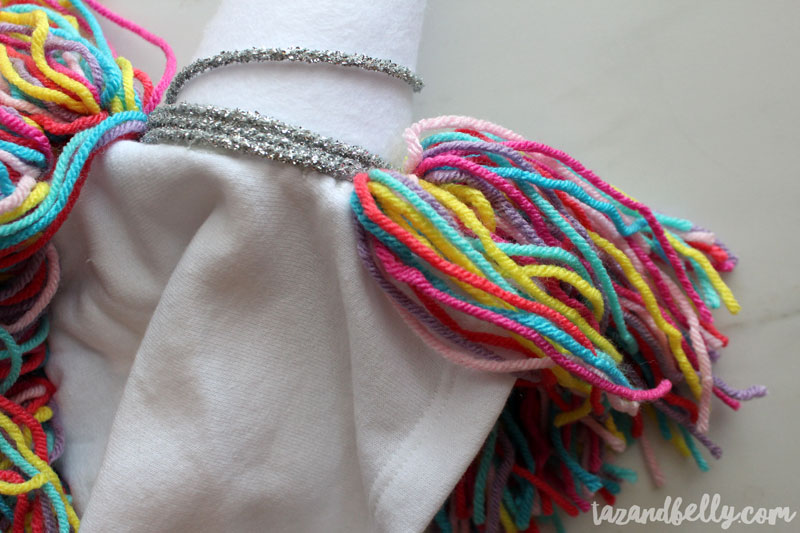
Once your horn and yarn knots are fully constructed, you can start attaching everything to the sweatshirt. I started with the horn. Using fabric glue, attach the horn on the center of the hood, near the front seam. I left just enough room for the front of the mane. If you place it too far back, the weight of the horn will pull the hood of the sweatshirt off the back of their head! Once the horn is fully attached and dry, glue some decorative trim around the horn to cover the seam. I used leftover silver cording, but you could braid some of the yarn or use ribbon or ricrac. I then evenly spaced the shortest knots and glued those in front of the horn.
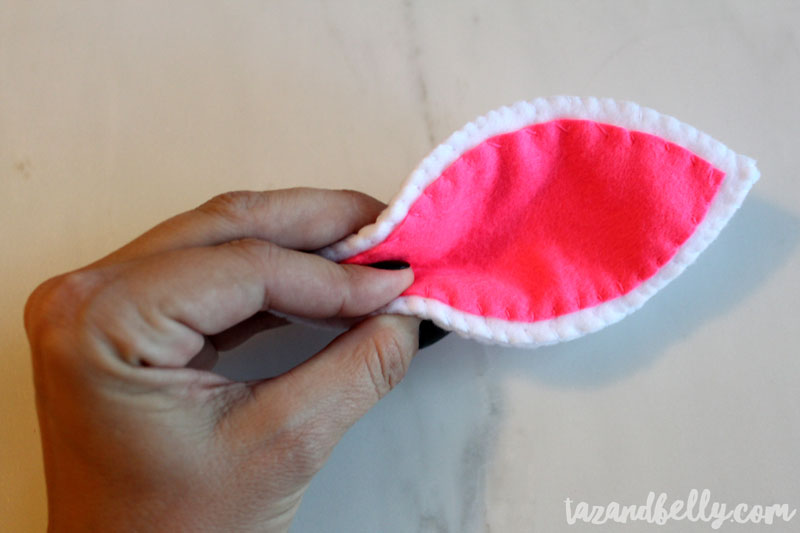
For the ears, follow the template to cut two each of the white and pink ear pieces. You’ll want to center the pink pieces on top of the white pieces and secure them with glue. Again, glue is the only necessity here, but I added cute whip stitches here, too. One the ears were constructed, I pinched one end to make it more dimensional and put a dot of hot glue (or a quick stitch!) to hold it together.
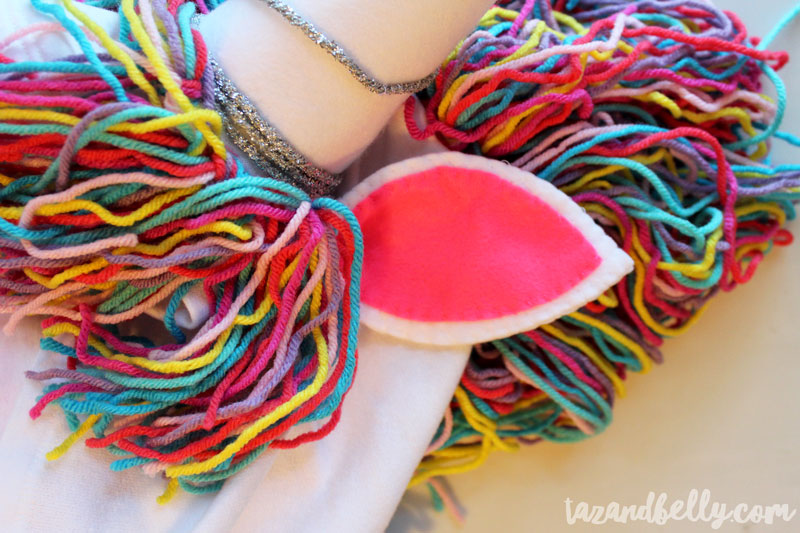
Here is where you can learn from my mistake! I had already attached the mane when I realized the ears weren’t attached. It would have been easier to add them first, on either side of the horn, and then place the shortest knots both in front and behind them to cover up where they were attached. I ended up making two additional four inch knots and secured them behind my attached ears and all was well again!
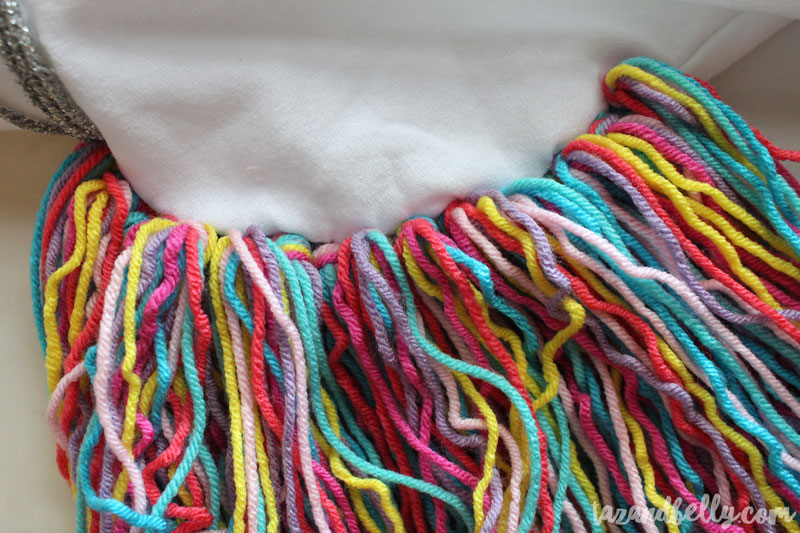
For the back of the mane, I glued the twelve mid-length knots in a row down the back seam. They don’t quite reach the neck of the sweatshirt, but the yarn is long enough that it hangs farther down their back. This is where the multi-colored yarn really shines!
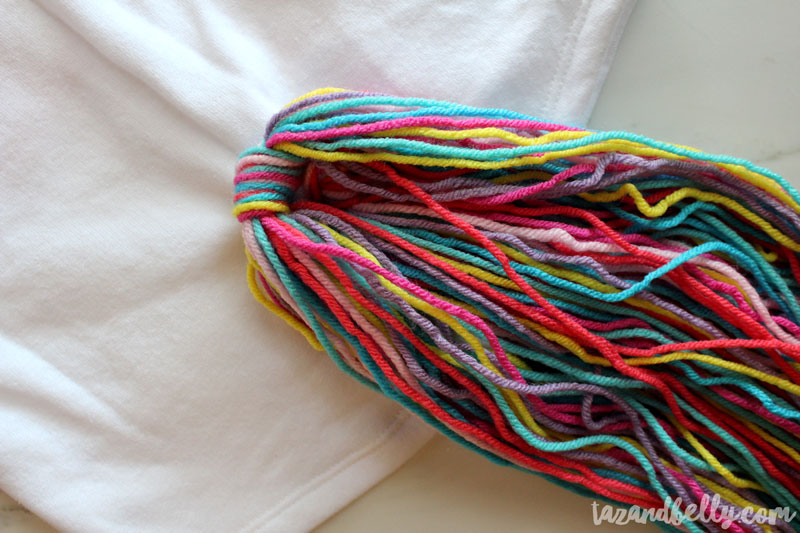
I repeated this process at the bottom of the sweatshirt, to create a tail with longest length of knots. You can make the tail as thick and as long as you want. We trimmed it near the back of her knees, because she said it bothered her when it was longer than that.
Sophie is tickled PINK with how her costume turned out and she’s already been introducing herself as “Sophie Unicorn Power.” How cute is that?! I love that when she gets overwhelmed with her costume while we’re trick or treating, she can just take her hood off for a quick break. Complicated costumes never work great for us!
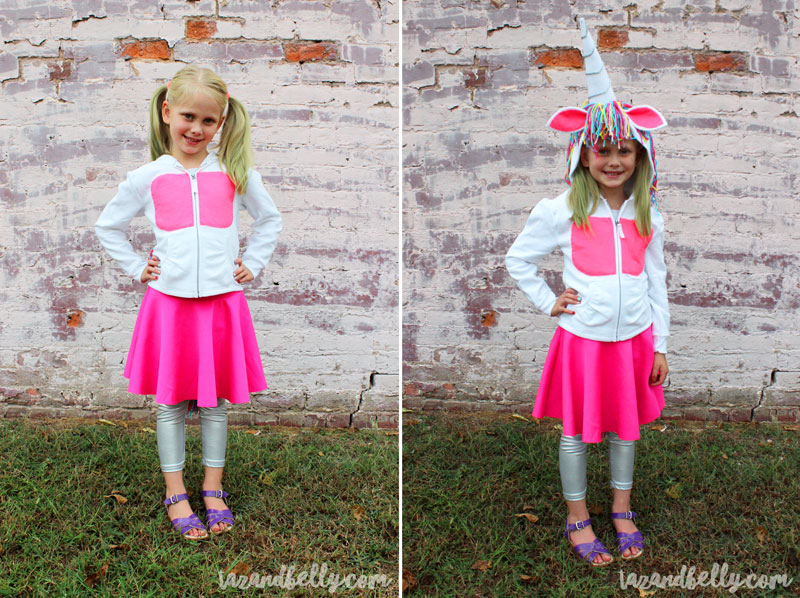
What are your kids wearing for Halloween this year?! Are there any fancy DIY projects at your house or are you going the store bought route? Ella and I are planning to work on her Taylor Swift costume this week (because ten year olds are too cool for baby costumes), so I’ll be back to share that with you soon! I got a little nostalgic while working on this costume, so I had to dig a few of my favorite Halloween DIYs out of the vault. I didn’t share tutorial posts for these, but that doesn’t mean we can’t talk about how adorable they are. Right?
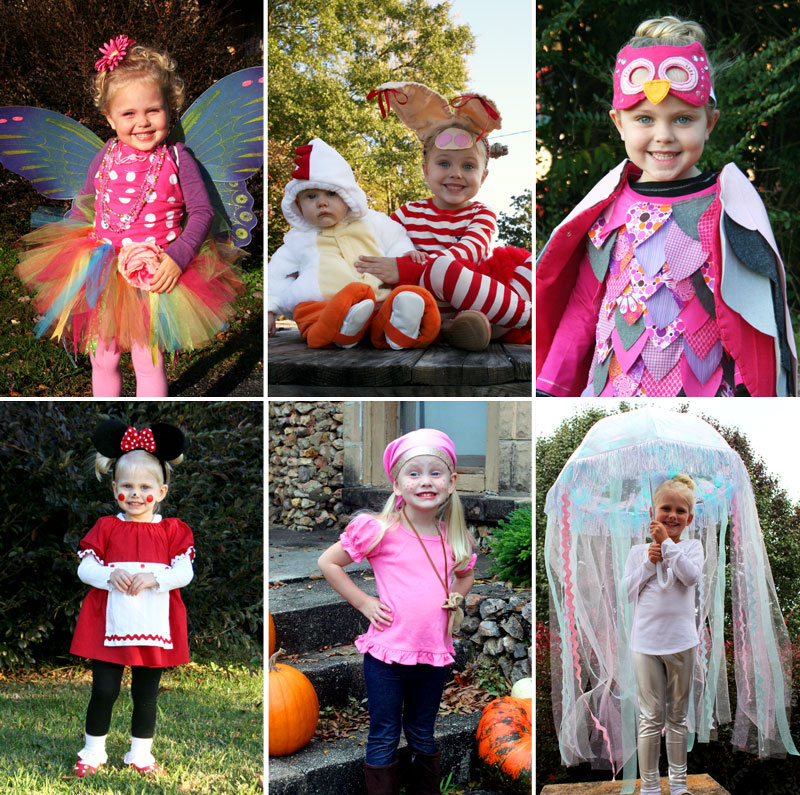 fairy | olivia the pig | owl | minnie mouse | izzie the pirate | jellyfish
Just in case you’re ready to jump into fall with two feet, some of my favorite mama bloggers are sharing even more fall inspiration today. From recipes, to fall decor and even outfit inspiration, these ladies have every aspect of your Halloween party covered. Be sure to visit each of their blogs and register below to win a $100 cash on us!
Halloween Day Outfits for Mama & Toddler | Dani Marie Krum of The Dani Mari Blog
Pumpkin Peanut Butter Cookie Sandwiches | Heather Brown of My Life Well Loved
DIY Rustic Fall Centerpiece | Kendall Rayburn of The Kendall Rayburn Blog
Rustic Halloween Front Porch Decor | Lauren McBride of The Lauren McBride Blog
Paleo Pumpkin Chocolate Chip Muffins | Jennifer Green of Life in the Green House
Halloween Mommy & Me Activities | Carly Anderson of Lipgloss & Crayons
DIY Zombie Halloween Costume | Jessica Fay of Lipstick, Heels & A Baby
5 Fall Beauty Trends Anyone Can Pull Off | Meg Owen of Meg O on the Go
Mommy & Me Costumes | Jess Oakes of Positively Oakes
No Sew Unicorn Halloween Costume | Kristin Fields of Taz + Belly
