Disclosure: Affiliate links appear in this post. Any purchases made using these links will earn Taz + Belly a small commission. You can read more about our affiliate relationships here.
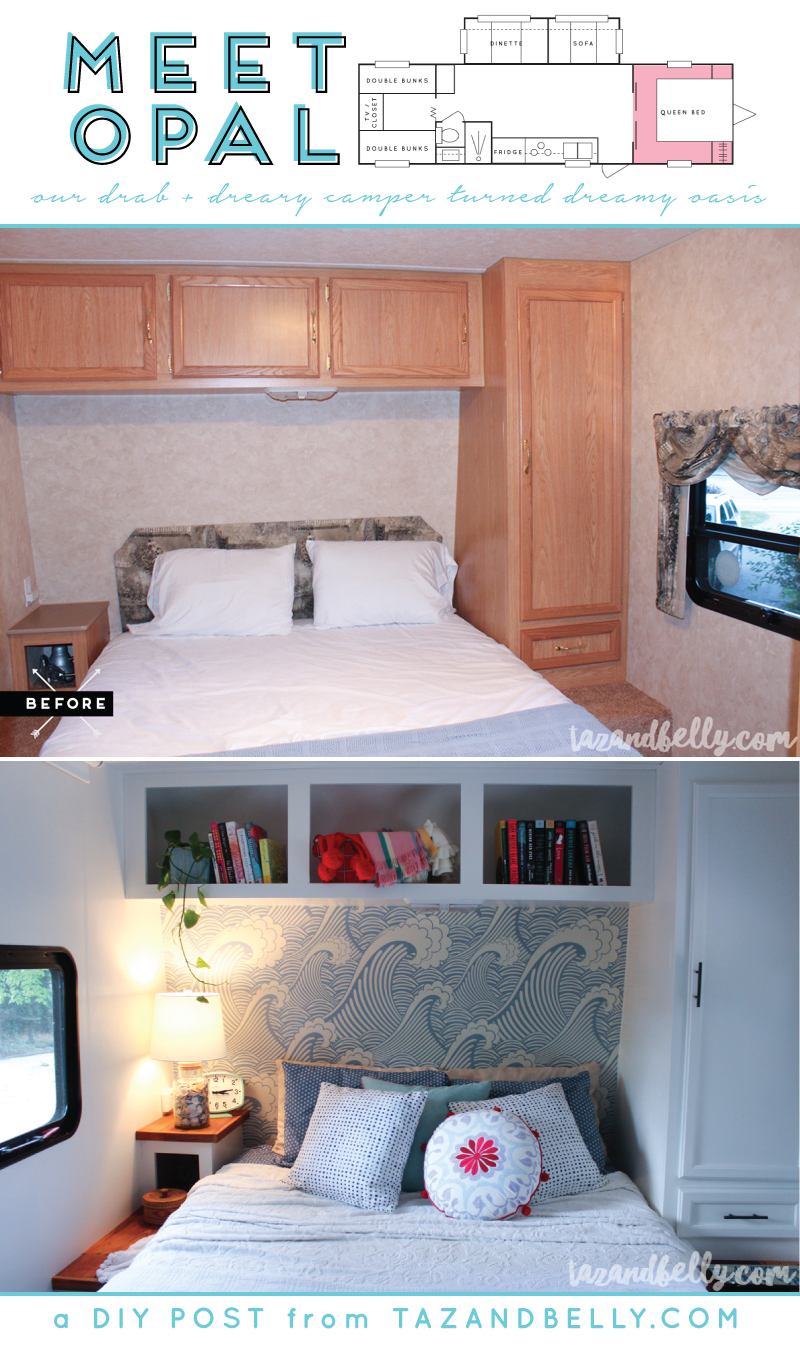
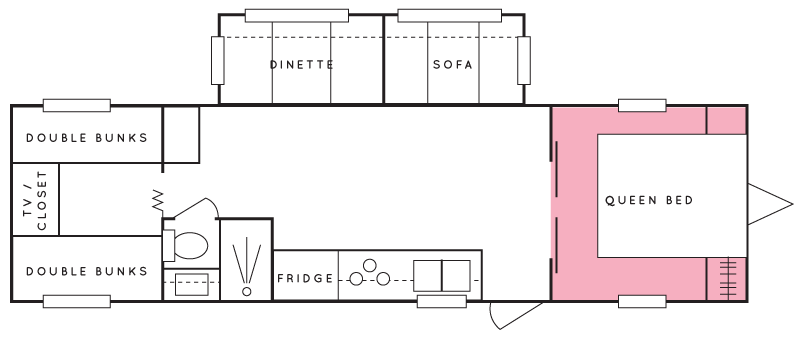
Our first stop on the camper tour is our master bedroom. I laugh every time I write that because we’re talking about a space barely big enough to hold a queen sized bed, but since it has an actual door and some privacy in an otherwise open area, we’re going to go with it! To help familiarize you with each space as we talk about it, I’ll include an image of our floor plan in each post. The master is the pink room, all the way to the right of the camper. The pocket doors are directly to the right when you walk up the steps.
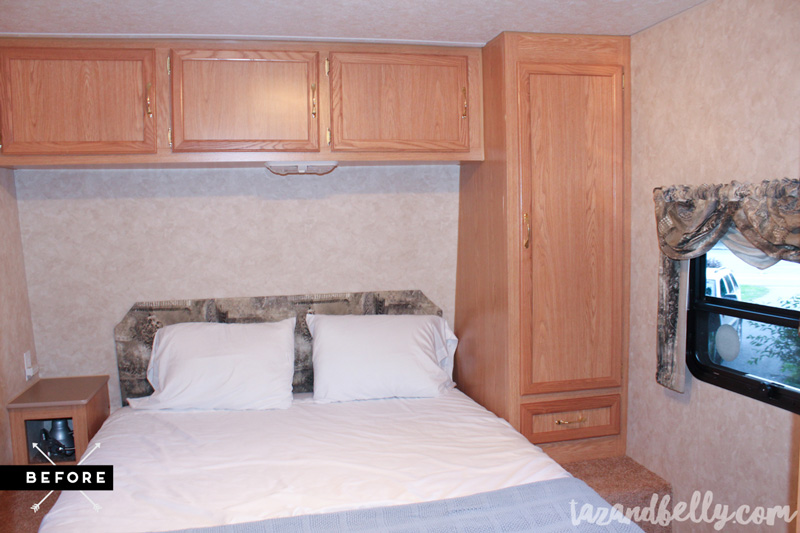
Let’s start with a before photo, shall we? This is what our camper looked like when we bought her way back in 2013 and aside from a few cosmetic updates last summer (think new bedding and curtains), she looked pretty much exactly like this when we began our renovation in February of this year. Our criteria for the camper when we bought it was that it must have a slide out — we needed floor space for crawling babies and preschoolers to play — and at least two bunk beds. We had planned to make our purchase about six months later, but when the rental market was slim for our summer vacation and we were faced with some very pricey options, we found it cheaper to have a small payment for those six months than to spend way too much to rent a camper that wasn’t ours. We started looking with about three weeks to spare and bought this 32 foot Keystone Jag just in time for our summer vacation.
I remember thinking that the walls were such a light color and I loved that the woodwork wasn’t dark and dingy. Seeing the comparison now makes this feel like a cave, but compared to many things we were looking at, this seemed like heaven.
My parents had just renovated their own trailer and my dad hung leftover hardwood planks above their bed in place of a headboard. I was worried about scratching the paint since we sit here and lean against the wall to read a lot, so I was looking for something a little more durable, but Josh didn’t want the added weight of wood. I don’t typically reach out to companies to partner with — I’m a bit of a weenie when it comes to putting myself out there. I decided to put on my big girl pants and reach out to Walls Need Love after seeing so many beautiful transformations using their materials. They were kind enough to send us all of the wallpaper we needed for our renovation and we could not be happier with how it all turned out.
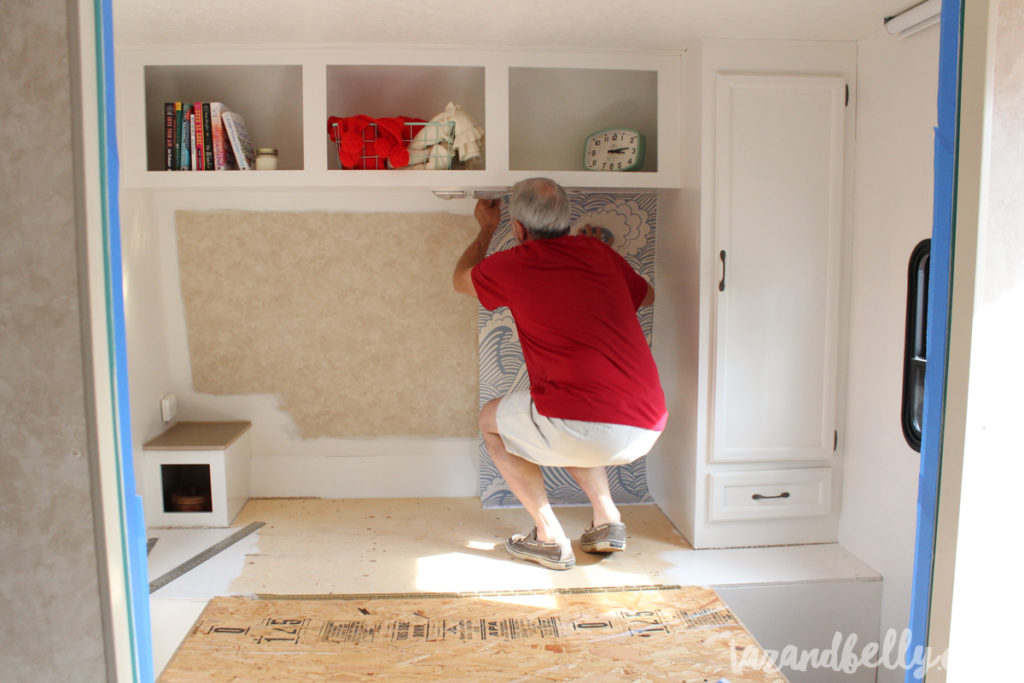
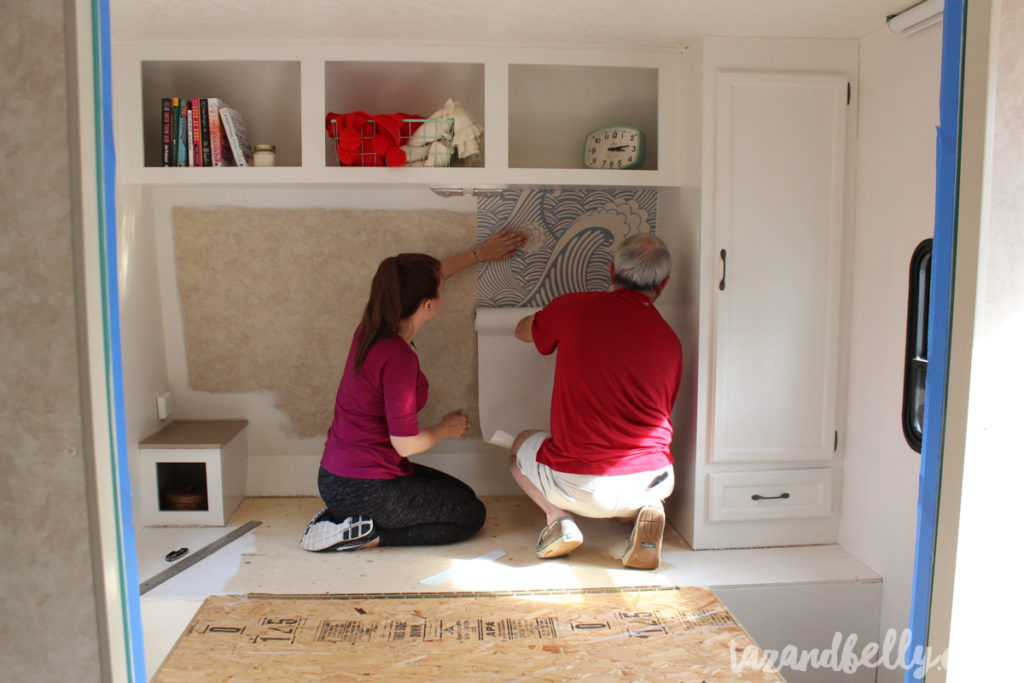
This was one of the projects my dad helped me with early on. The wall is at an angle and I worried about needing seven hands to hold it, level it, measure it, and cut it all at the same time. We used just under three sheets for this project, which would have cost around $120 if I had purchased the paper myself. I loved the blue of this Waves of Chic wallpaper and I knew the nod to our favorite beach destination would fit right in! It took about an hour to hang all three pieces and get everything as square as you can in a moving box.
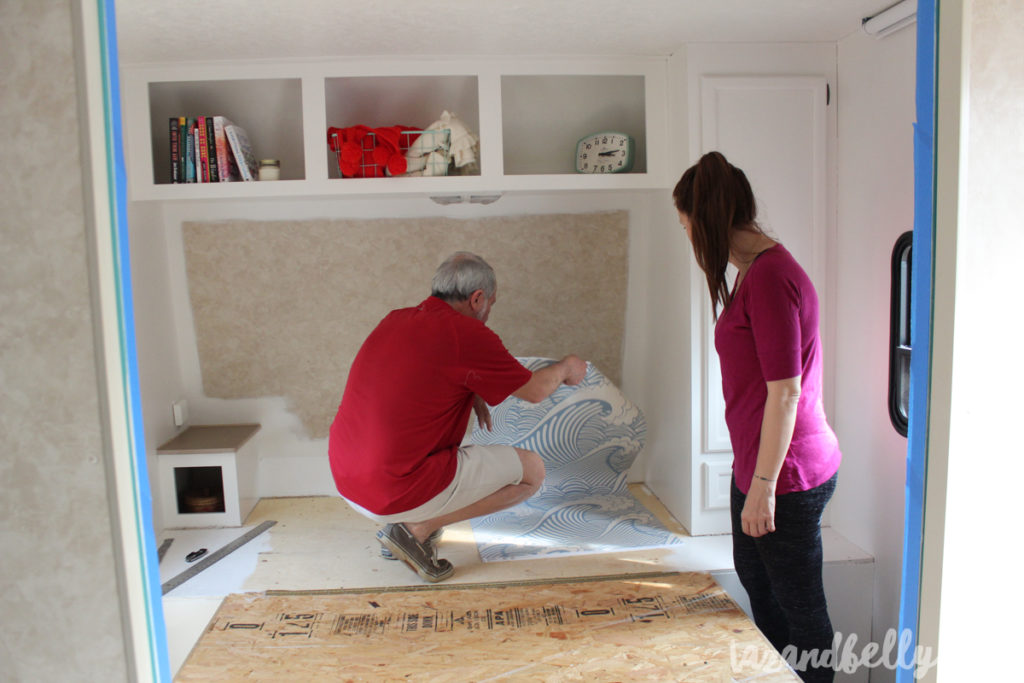
I had been looking at an almost finished room for more than a week, so seeing that wallpaper go into place, really made a huge difference in how the room looked overall. We still had plenty of finishing touches to figure out, but it was the first real glimpse of what this space could look like!
You saw this finished photograph in yesterday’s post and if you’ve been following along on Instagram, you’ve probably seen some version of it there or on Instagram Stories for weeks. I am so pleased with how this space turned out!
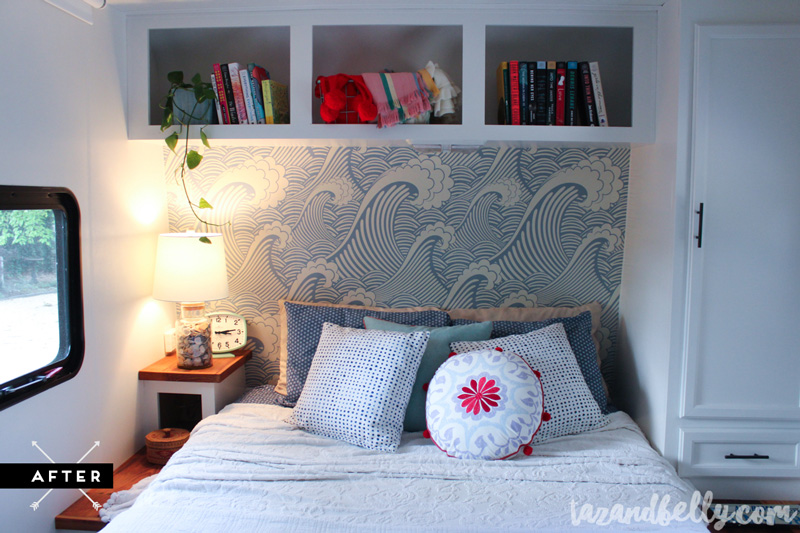
Instead of sharing a massive source list at the end of the post, I’m going to try and tell you where everything came from and how much it cost as we go. I’ll link items when available or offer alternatives if I can find something similar!
vintage bamboo planter (similar options on etsy) | red pompom throw | vintage tablecloths (similar options on etsy) | wallpaper (c/o) | glass vessel lamp via homegoods (similar) | green clock via hobby lobby (similar) | vintage lidded basket (similar options on etsy) | vintage chenille throw (similar options on etsy) | sheets (similar) | dotted throw pillows (similar) | assorted throw pillows via bargain hunt | cabinet hardware | white roller shades
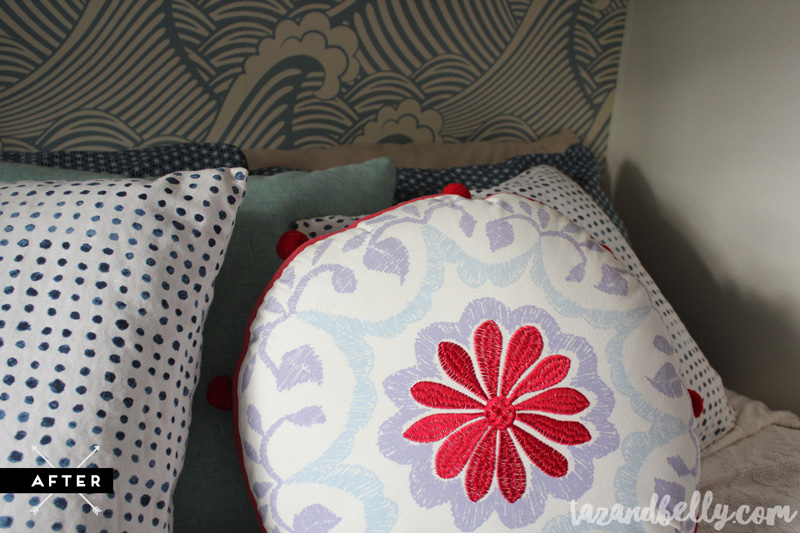
If you don’t know about Bargain Hunt, you are missing out. It’s a bargain center where returns and overstocks are sold, but our store is filled with so much Target merchandise, some of it still in stores! I bought several things for the house back in the fall and anytime I found something for a steal that I knew would work in the camper, I picked it up. They work on a percentage system — the longer an item is on the shelf, the less expensive it becomes. Almost everything I buy there has already met the 75% or more threshold, making these Target throw pillows in the $3-5 range!
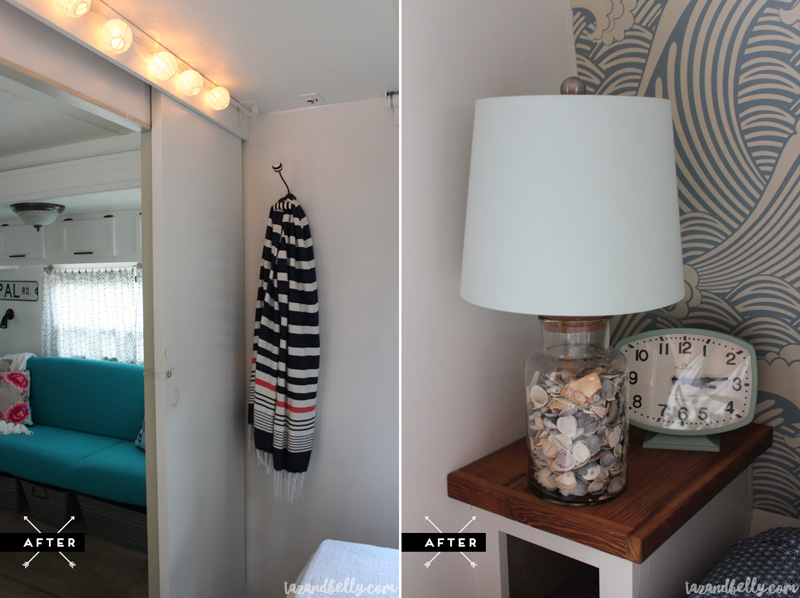
There used to be a shelf on the wall where that blanket hook is and we’ll talk later about where it’s been relocated. I knew we needed hooks for purses and hats, so I added one on either side of our doorway. We have a plug in the ceiling here — that shelf was for a television — so we strung an old set of paper lanterns above the doorway to act as a night light. Since the spaces are all open to each other, we like leaving some ambient light on to help us find the bathroom and the front door in the middle of the night!
On either side of our bed were plywood platforms, covered in carpet and a small table with a laminate top. I ripped the carpet out almost immediately and planned to paint and trim the plywood to keep from spending any money. Instead, my dad went through his stash of old barnwood and made me matching tops for all of the things I removed. I didn’t stain them, just rubbed and buffed them with tung oil and they look beautiful! I can use the cubby underneath to stash things that aren’t beautiful and I love having a bedside lamp so I can read at night. I had been looking for a clear vessel lamp for weeks, but they are all so expensive! I had a $25 Homegoods gift card and snagged this one with a perfect blue shade. The girls filled it up with shells from previous camping adventures.
paper string lights | striped coat hooks | turkish throw | wallpaper (c/o) | glass vessel lamp (similar) | retro green clock (similar)
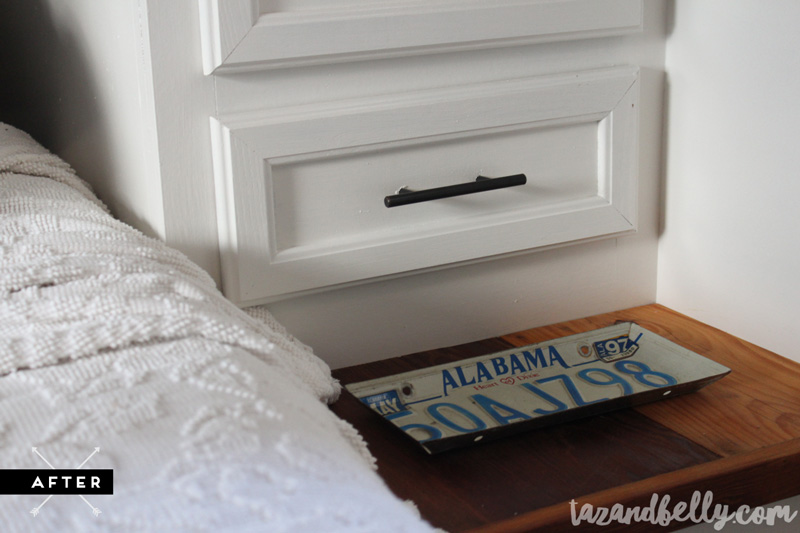
Josh usually sits a drink on his table, so I wanted to be sure we didn’t leave rings on our beautiful new tops! My dad made us trays out of vintage license plates several years ago for Christmas, so I put it on Josh’s side as a place to corral his drink and pocket change.
vintage chenille throw (similar options on etsy)| similar license plate trays | cabinet hardware
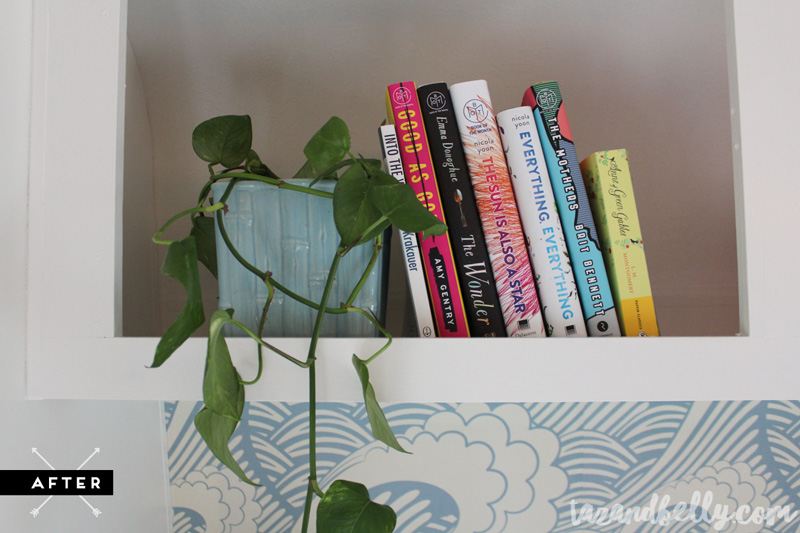
Can we talk about this plant for a minute? When I went off to college, my mom planted me one just like this and my roommate and I named her Lady. She survived for several years, but I have a bad reputation with plants and she later died. Fast forward to a few weeks ago when my sister told me she had tons of baby Lady’s at her house. Not just plants like Lady, but pieces that my mom rooted for her from the same plant. She rooted me a piece of my own and since I’m mildly more responsible than I was in 1998, I’m hoping to keep her alive in the camper!
wallpaper (c/o) | vintage bamboo planter (similar options on etsy)
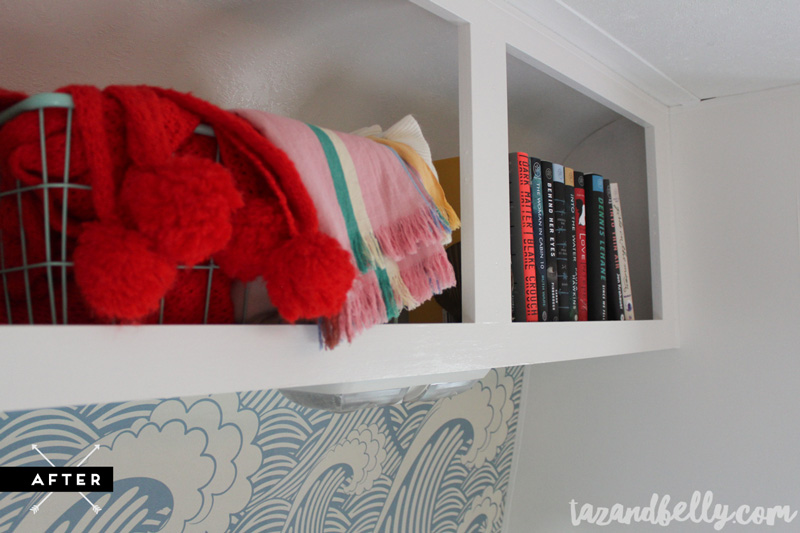
Most people thought I was crazy for leaving the doors off of these cabinets, but I honestly think we’ll use this space more as open shelving. Before, they were stashed full of extra sheets and blankets that have now been relocated to the storage bins under our dining benches. This seemed like the perfect space for basket storage, but I never found multiples in the right size. Instead, we’ll use it as a bookshelf and a place to store blankets and tablecloths when not in use.
wallpaper (c/o) | green wire basket (similar) | red pompom throw | vintage tablecloths (similar options on etsy) | vintage brass seashell bookends
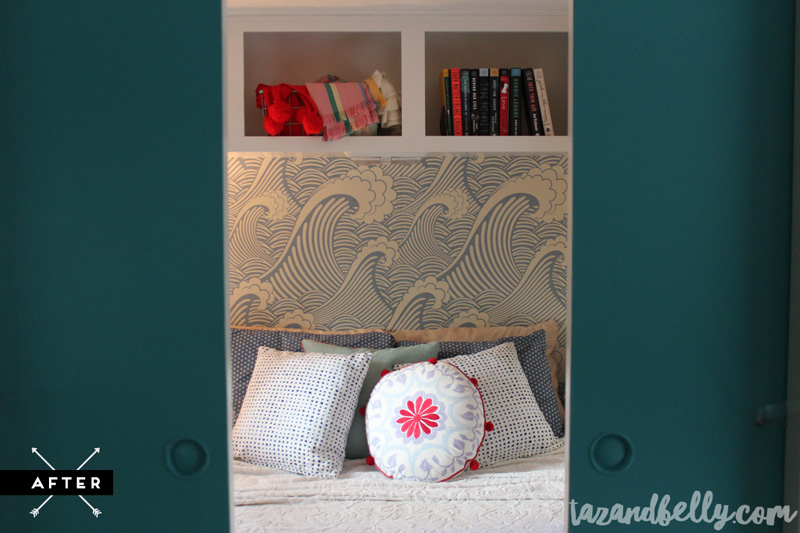
Josh got concerned for about five minutes that everything in the camper was going to be white. Granted, this was before we had done anything but add paint to the main living space and the textiles are really what brightened the space up. To ease his mind, I used his favorite turquoise paint color (remember the doors at our old house?) and added a bright pop of color to these pocket doors. They are closed most of the time, but it’s a nice little surprise when the girls want to watch a movie or we’re taking a nap!
Thanks so much for visiting and reading today. I would love to hear what you think about our camper tour in the comments and it would mean so much to have you share today’s post — or any post in this series — on Facebook or Pinterest. We have had so much fun transforming our summer getaway and I want to share it with as many people as possible!
