Disclosure: Affiliate links appear in this post. Any purchases made using these links will earn Taz + Belly a small commission. You can read more about our affiliate relationships here.
The response to our camper makeover has been so wonderful and we have loved sharing all of the details with you over the last few weeks. I’m already itching to renovate another one, so I’ll keep you posted on whether or not I can convince Josh to spring for a tiny vintage number. How cute would that be as an office?! In the meantime, I wanted to share a post full of tips and tricks we use to pack our camper and ways to make it the most functional for us.

I’m fully convinced that the people who design campers (and decorate them!) have never actually stayed in one for any length of time. There are so many things that would be better suited to campers and ways to adjust the layout that would make it far more functional. We started out camping in tents when I was a little girl and have progressed through pop-up campers, small pull behinds, our current (much larger) pull behind, and Josh fully intends to upgrade to a fifth wheel at some point in our future (for the ease of travel — we certainly don’t need any more space). As we’ve outgrown our accommodations, we’ve learned exactly what works best for us and what things we can and can’t live without.
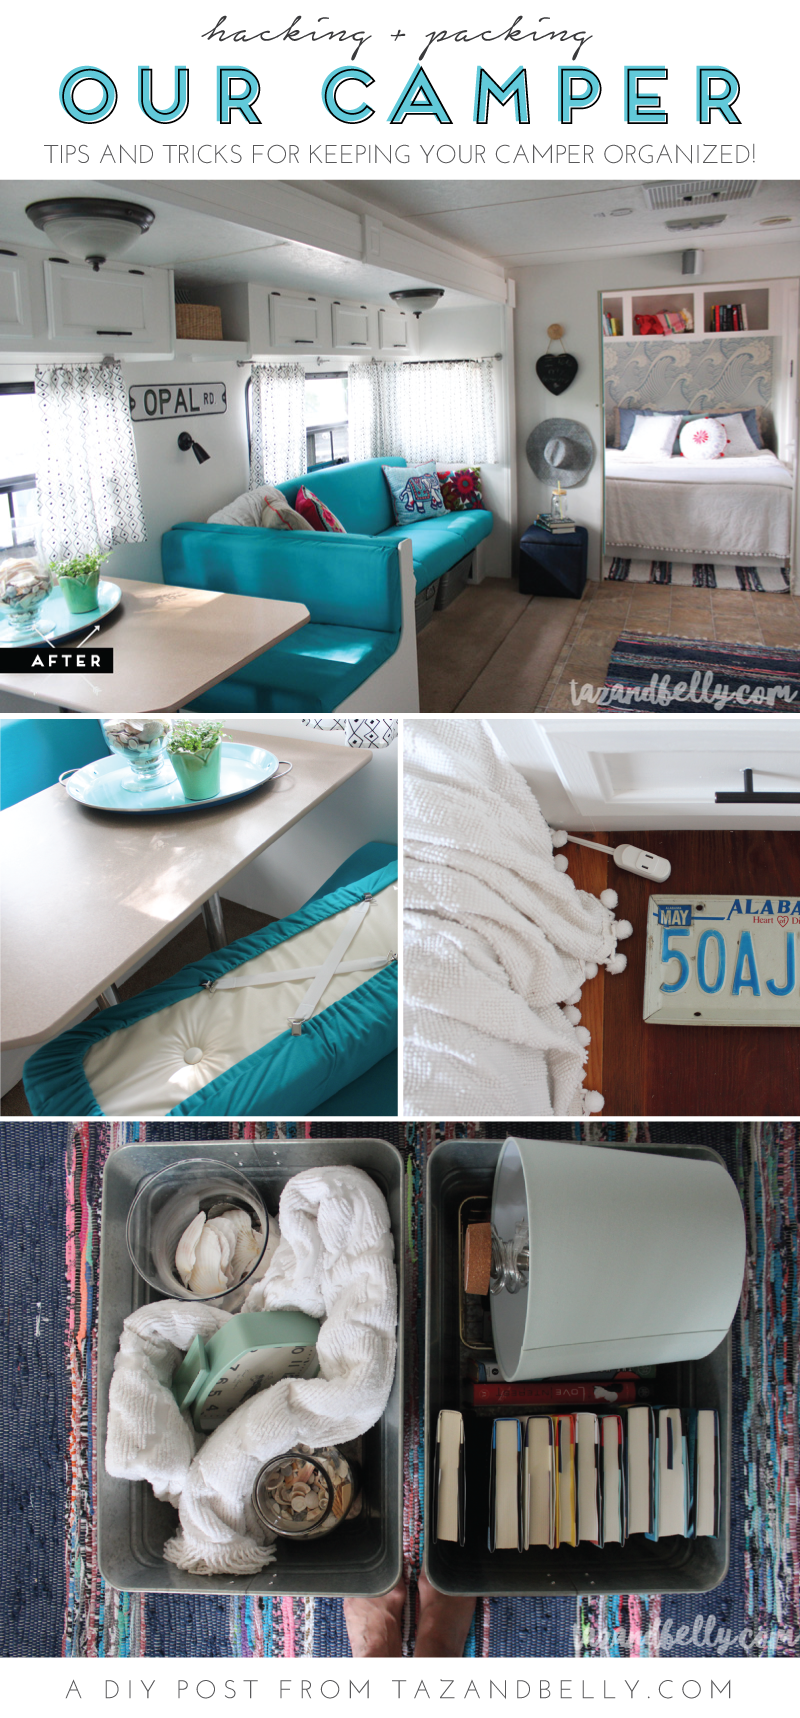
You can never have enough plugs. Maybe this has changed in more recent floorplans, but our camper doesn’t have nearly enough plugs. There is one in each bedroom, one in the bathroom, one on the kitchen wall, and one above the entertainment center. I purchased these plug adapters for every single outlet in the camper except the bathroom and it was much easier to function this year. No more prioritizing iPhone chargers over toaster ovens — we were able to plug everything up and never tripped a breaker once.
The spot which most desperately needed more plugs was our bedroom. I said we only have a single plug and that’s not entirely true. There is one in the corner of the ceiling if you’d like to mount a television and while it works perfectly fine for a strand of string lights, it isn’t exactly conducive to an alarm clock or our white noise machine (no, we never leave home without it). I have a plug above the cubby on my side of the bed, but Josh is left with nothing on his side. In years past we’ve draped cords or passed phones back and forth, but since everything was already under construction, I vowed to fix it!
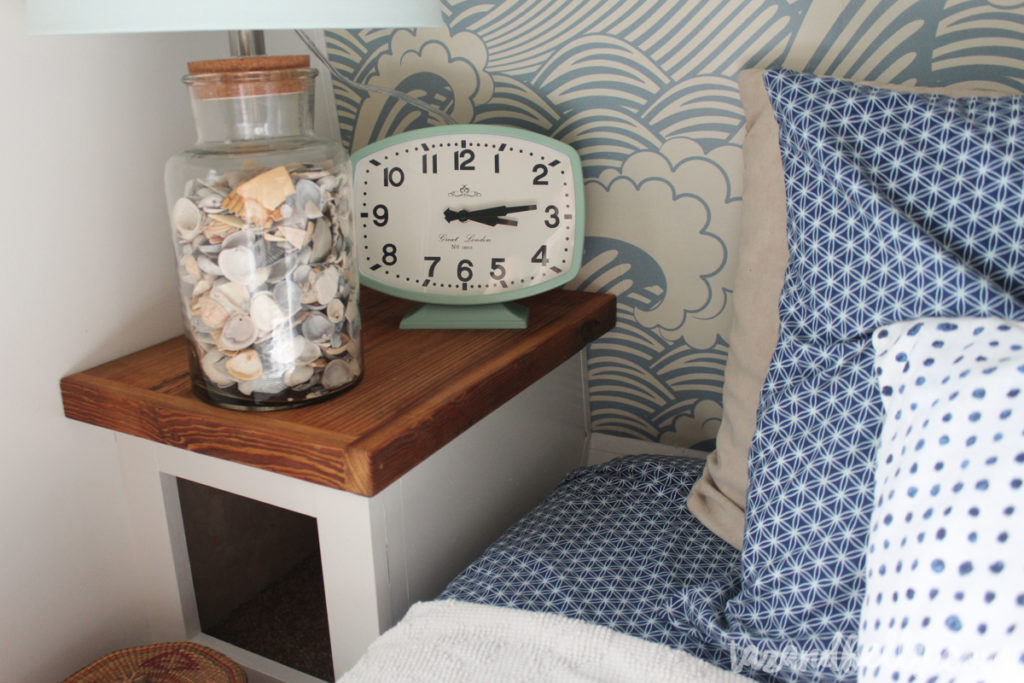
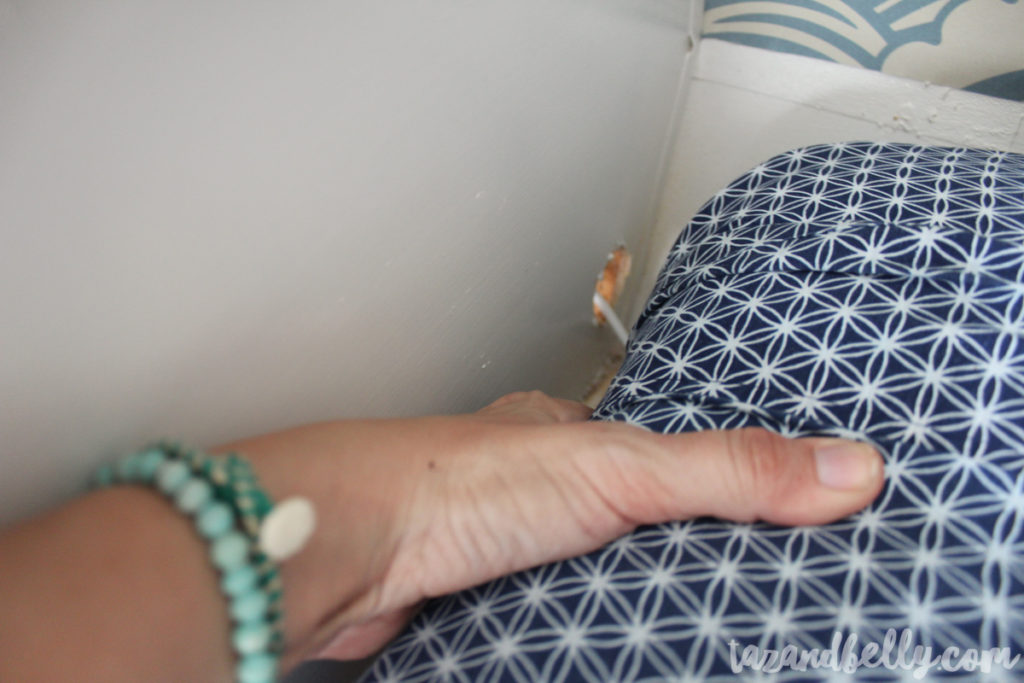
Using a paddle bit on our drill, I added two holes in the cubby next to my bed — one on top in the back corner and one on the side that is hidden by the mattress. I ran a ten foot extension cord from the plug, down through the cubby and under our mattress.
It comes out here on Josh’s bedside table, where he can plug up devices within his reach. When not in use (or on the rare occasion the bed is made), you can’t even see the end of the plug!
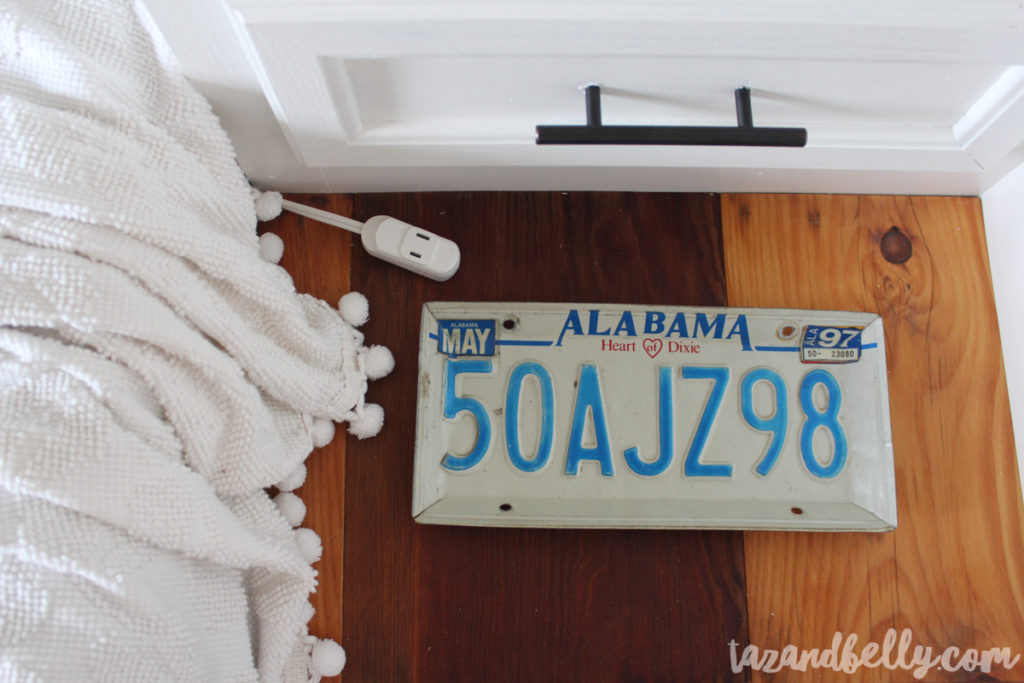
We did something similar in living space near the dinette. Josh likes to sit there and work, but we don’t have any plugs in the slide out area. I drilled a hole for a long white extension cord that can be pulled out of the cabinet when needed. No, it isn’t super glamorous, but it can be rolled up and tucked away when not in use!
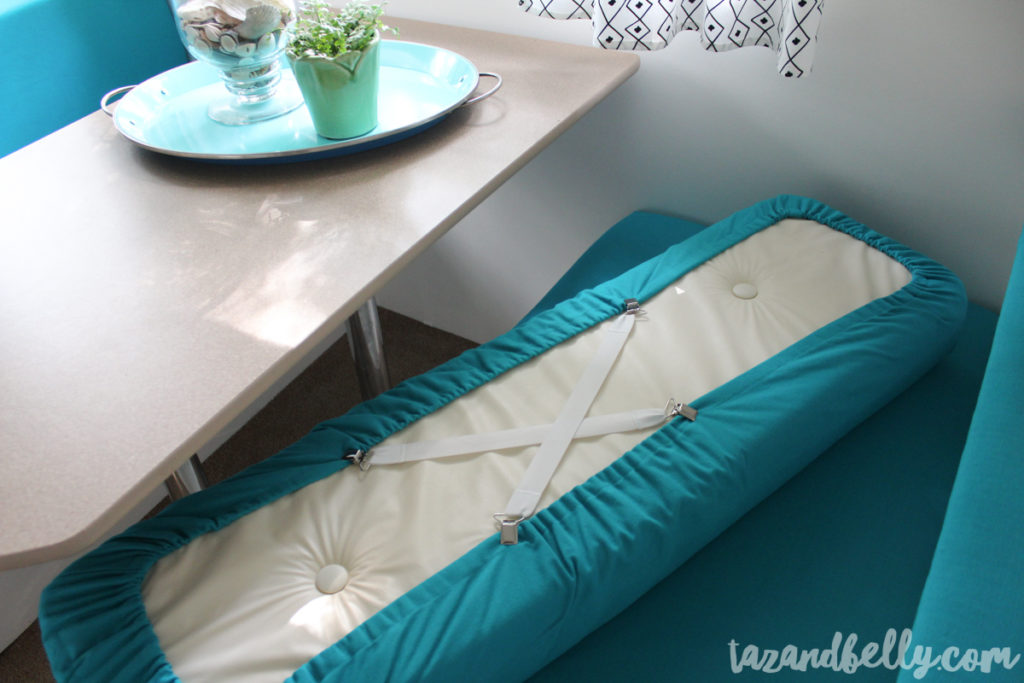
Camper upholstery is atrocious. What is with the crazy fabrics they use for couches, dinettes, and valances?! Even the newer models are dark, drab, and dreary. In addition to recovering our cushions, I knew I wanted everything to be easy to wash. Instead of making complicated covers with zippers and piping, we essentially made five fitted sheets. They fit snug when on the cushions, but are super easy to remove and wash. You can’t make the elastic too tight or the covers are too hard to wrangle on and off. Instead, we used these sheet straps to get a tight fit. Each of the dinette cushions required a pair and the couch took four on top and four on bottom. This gives the finished cushion a very tight fit and keeps it looking as professional as possible.
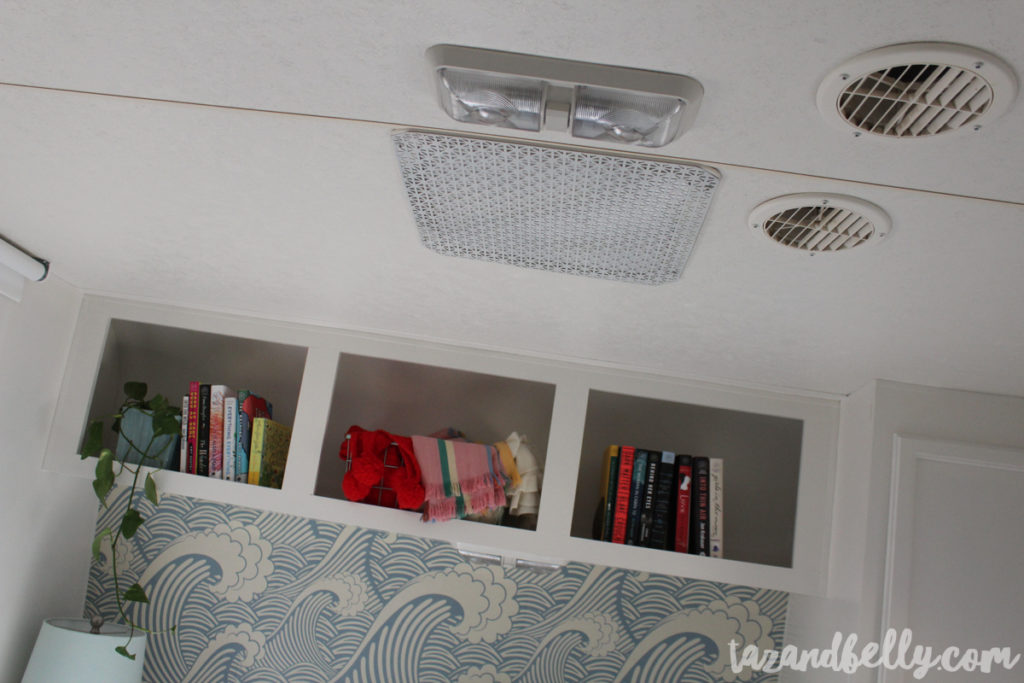
Do we really need skylights in our camper? I’m sure the purpose of the skylights is to brighten up an otherwise dark space. Once we lightened everything with paint and textiles, it wasn’t necessary to have them open. We noticed that we lost a ton of cool air through the vents in our ceiling and since Josh works for the first week we’re out of town (meaning he’s in the camper during the hottest part of the day), he was drenched in sweat by midafternoon. We had been brainstorming ways to make them more energy efficient when a big box of bacon saved the day. After getting a grocery delivery at work, in a Styrofoam lined box, I wondered if we could stuff the holes with Styrofoam to better insulate them. We removed the skylight covers, traced the interior and cut the Styrofoam with a jigsaw. It made a mess, but got the job done! I used decorative metal grates, cut to size, to cover the Styrofoam and painted them to match the ceiling. We were even able to use the existing screws and holes to secure everything to the ceiling. This helped to keep our camper much cooler in the middle of the day and we all slept later without the flood of sunshine coming through each morning.
For those of you curious about the skylight in the bathroom — we left it intact. Not only did we need some extra light in a tiny space, but the switch is too high off the ground for the girls to turn on the bathroom light by themselves and we knew we couldn’t sacrifice the ceiling vent fan in the bathroom. No bathroom should be without a fan, right?!
We pack everything in baskets and bins. I’ve shared this before, but for as long as I can remember we’ve packed for vacation in a laundry basket. This might seem strange to some, but it was even more helpful when we were younger and camping in a tent. We could each have a basket to ourselves, stored in the trunk of our car for easy access outside. Having our clothes outside means we don’t have to track in sand and wet bathing suits in order to grab clothes and head over to the bathhouse. The laundry baskets are open on top — making it easy to find what you’re looking for — and since they are plastic, you can sit them on the ground without fear of getting them wet or dirty.
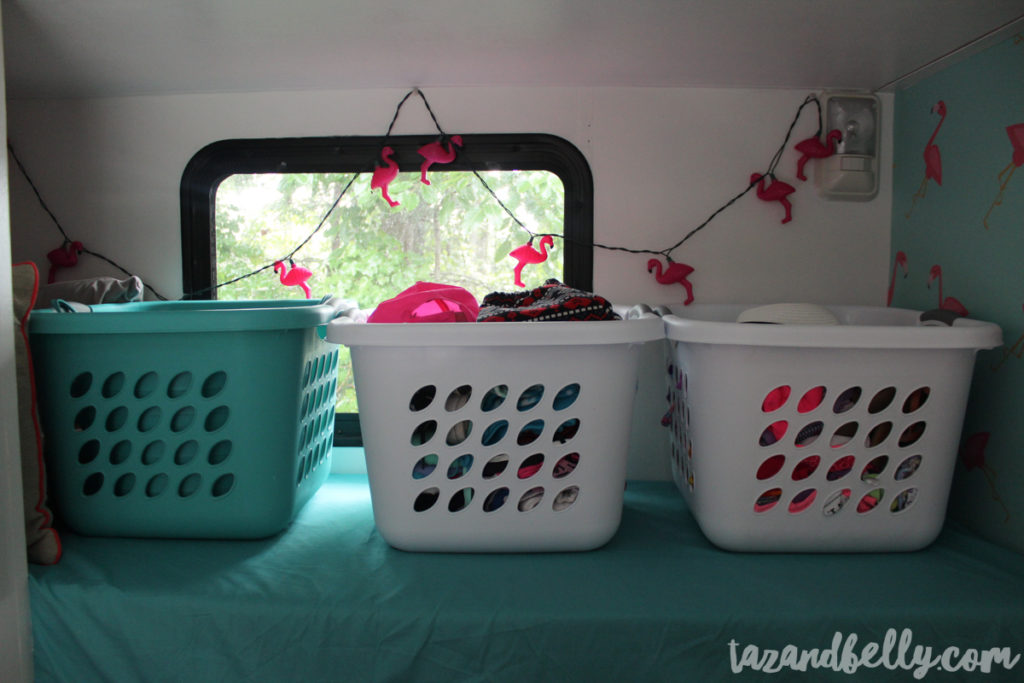
Josh and I now pack in Rubbermaid bins instead of laundry baskets and we slide them under the camper instead of keeping them in the car. The only time this is inconvenient is when it’s raining! We typically keep bathing suits hanging up in the bathroom and a set of pajamas in our bedroom. These keeps us from needed to go in and out before bed or first thing each morning. The girls each have a laundry basket that we store on the spare top bunk in their room. We have just enough room for a dirty basket, too, and it’s a different color to make it easy on everyone playing toss with their dirty socks.
Almost everything on the walls comes down to travel. I had a ton of questions about how we travel and if we have to undecorate while the trailer is in motion. I think you would be surprised at how well most things do, but there are a few things that we remove to keep them from breaking. The bathroom mirror and flat screen television both lay down on the widest lower bunk. Neither item seemed to move an inch during travel. One thing I wish I had moved, but didn’t, was the chalkboard Sophie made me for Mother’s Day. It swung back and forth while we were on the road, leaving a nasty scuffmark on my freshly painted wall. I was able to remove most of it with a baby wipe, but it will need some touchup paint at some point.
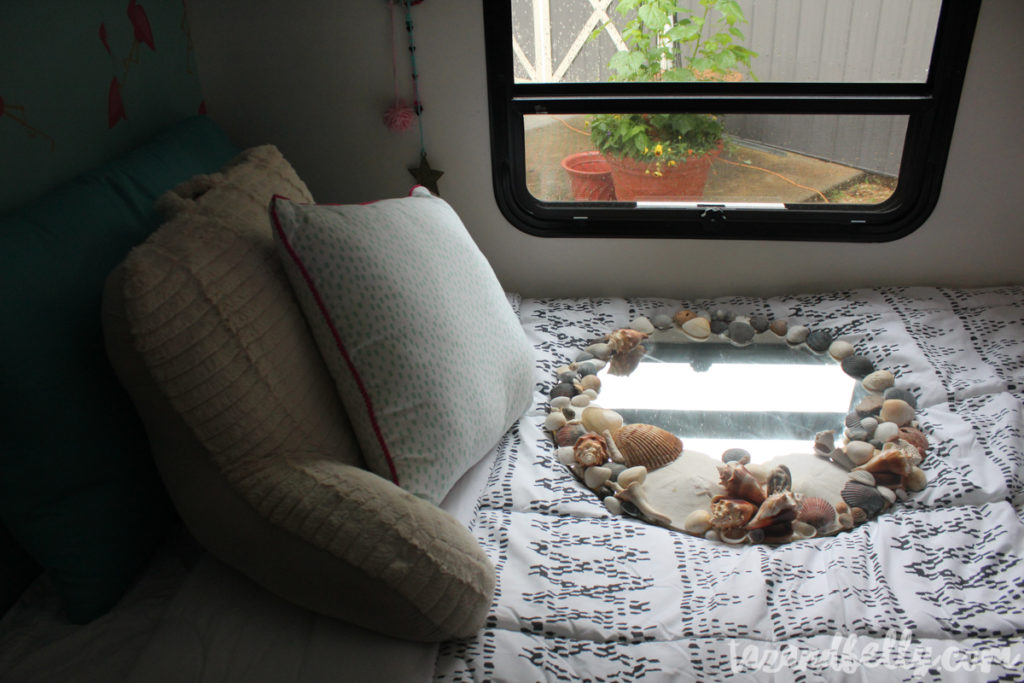
In the bathroom, we just put most of the items in the cabinets under the sink. Our towels got relocated to a lower shelf and everything else went in a basket in the floor. With the door closed during travel, none of these things moved around very much and we didn’t notice any scuffs or nicks in the paint once we unpacked.
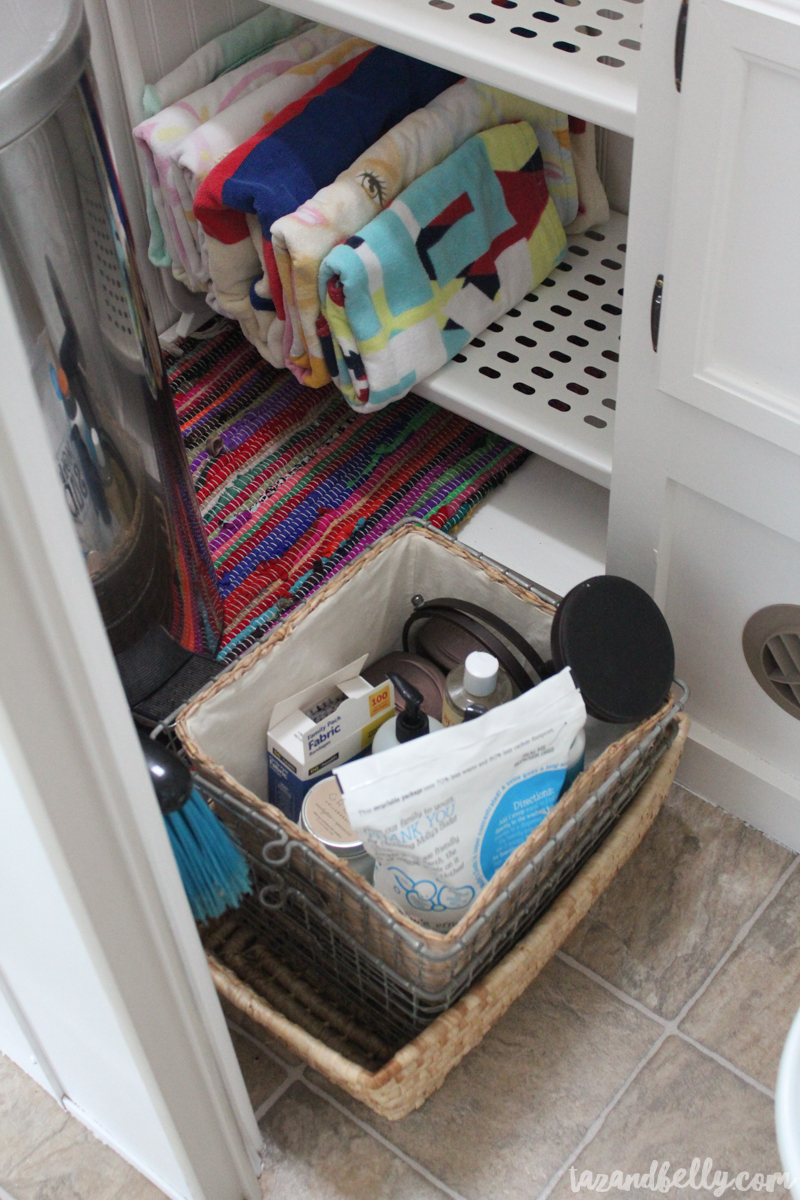
Our plants and a few other things that might spill (oil lamp for the picnic table) get relocated to the sink area. I can water them before we leave and not worry about drainage, they get plenty of sun through the kitchen window, and I don’t have to worry about a broken pot or spilled dirt when we arrive. We all loved having a little greenery in the camper this year, so I’m super happy we planted these girls.
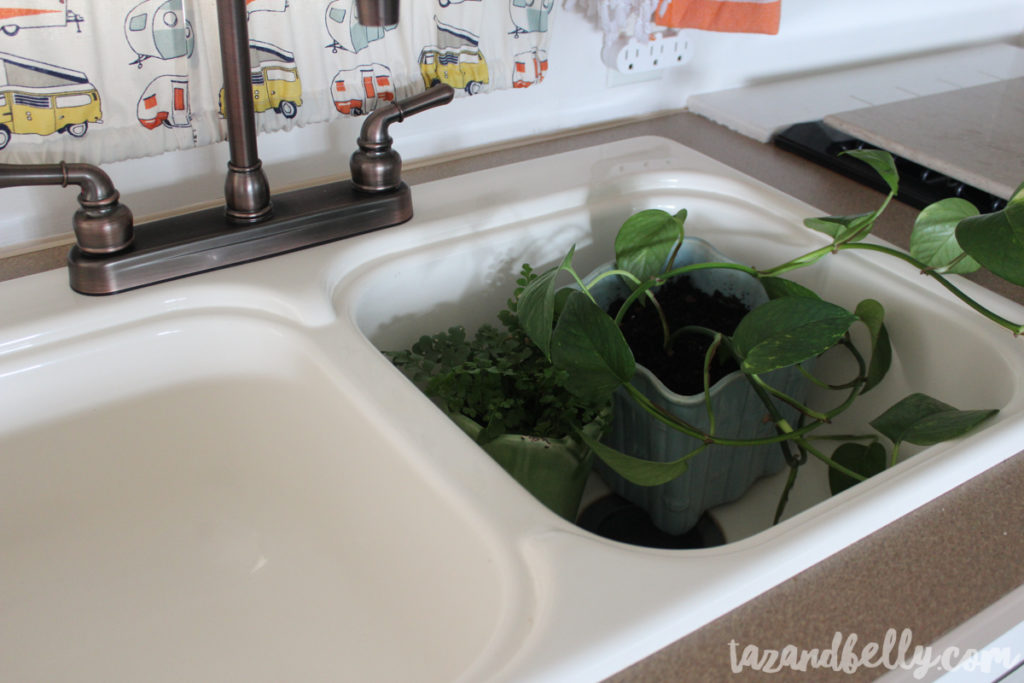
Everything else decorative went inside the galvanized buckets under the couch. I removed the lampshade and packed everything using blankets and bins we were already using in the camper. It might seem excessive to decorate once we arrived at our destination, but it took less than an hour to have everything righted and it felt much more like home with a few of our favorite decorative touches. I didn’t read all of the books I carried, but I love having a selection to share with friends and family while we’re on vacation.
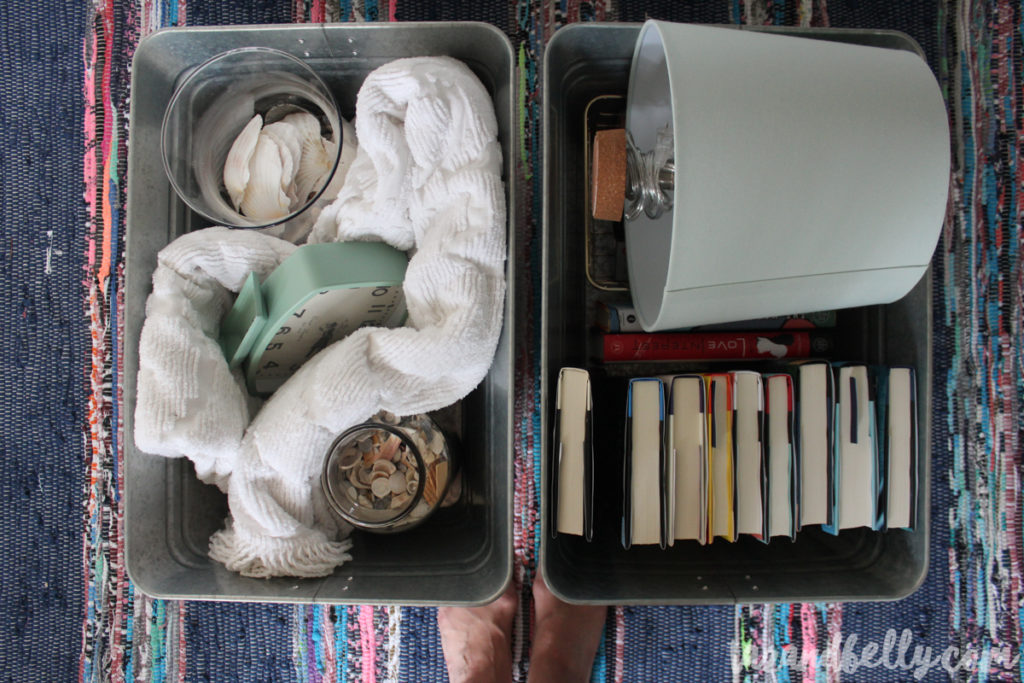
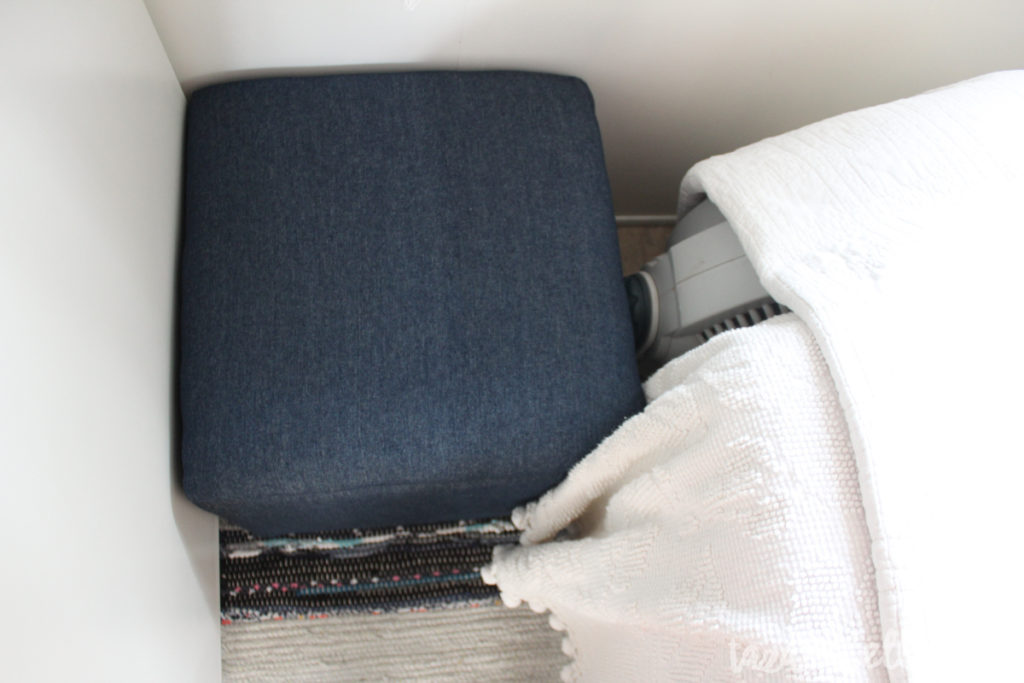
For the loose items that sit in the camper while we’re traveling, we simply wrap them with blankets so they don’t fall over and ding up the walls. I put our oscillating fan beneath the coverlet on our bed and wedged the storage ottoman next to it to keep it from sliding around. Josh used a packing quilt to wrap his golf clubs and our beach cart and laid them both between the kitchen cabinets and the couch. We’re tightly packed during travel, but everything arrives safe and in one piece!
Interested in more camper storage solutions? Check out this previous post that shows how we organized everything pre-renovation! New to this series? Read all of our camping renovation posts here.