I had big plans to share a Weekend Update post this morning, but I never could get it together. Like most of America, I stayed up way too late watching the Oscar’s last night and then even later scrolling through Twitter and reading the fallout from envelope-gate. Today was the worst day at work I’ve had in awhile and my kids were raging lunatics by the time I got home (let’s face it: I was the real lunatic). So here we are with an evening post and almost no pictures from the actual weekend. We spent Saturday at IKEA with my family and while we took plenty of random selfies and photos of naps on IKEA mattresses, I didn’t take a single photo for todays post. What do you say we just have a camper weekend update instead?
Let me start by saying that I know my camper isn’t cool or vintage. It also isn’t new and modern. It’s an early 2000’s basic trailer without a lot of bells and whistles. It’s clean and huge and has great bones. It is also perfectly primed for a makeover. I guess I can’t exactly call this a flip since we aren’t making many structural changes, but I think you’ll be quite surprised by the transformation we’re able to make in a few weeks, with very little money.
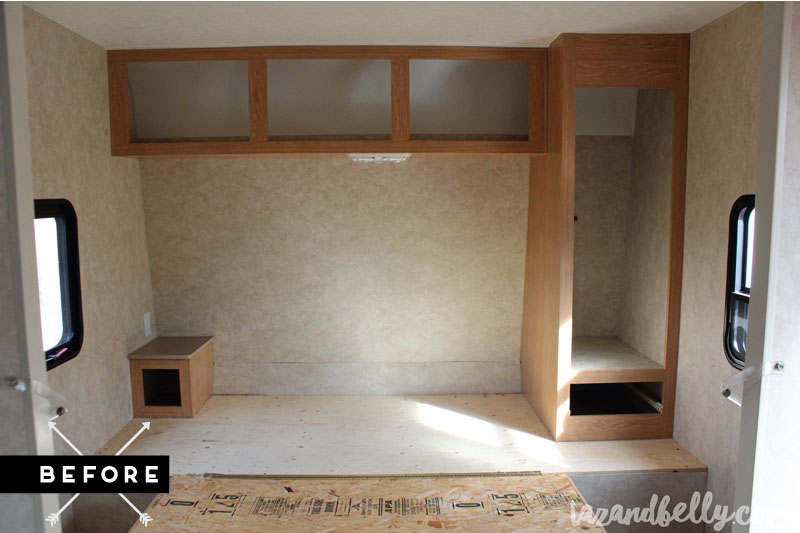
You’ve already seen before photos, but the one above is after I uninstalled everything in the bedroom. I have decided not to reinstall the doors on the upper cabinets, so I’m on the hunt for the perfect storage basket for those cubbies. I also hadn’t planned to rip the carpet off the storage compartment on either side of the bed (because Josh thought it was fine), but I’m so glad it is gone. The sheer volume of sand underneath the carpet made me shudder. I’ll be building wooden tops to cover the plywood and corners and painting it out to match the cabinets.
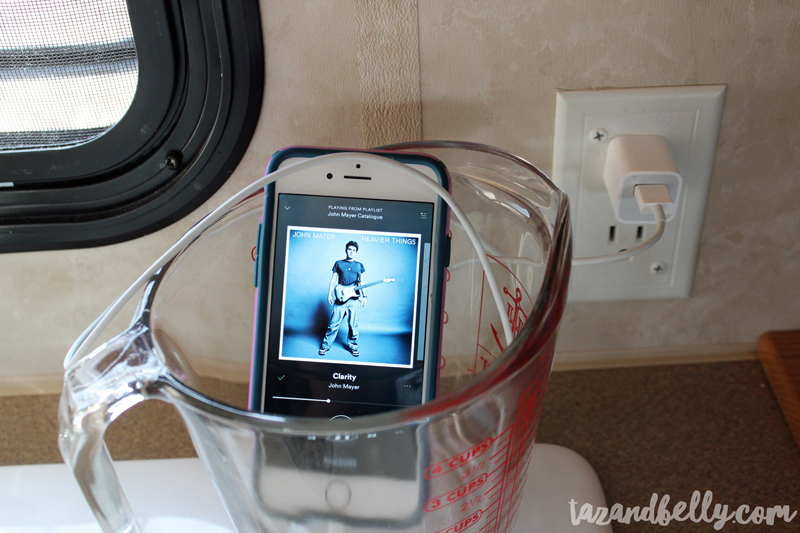
Of course, I needed some music and old school John Mayer is always a favorite.
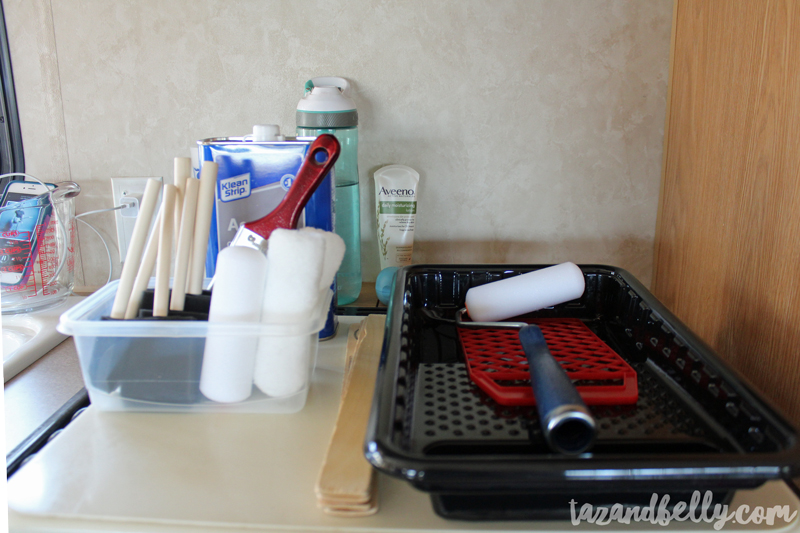
After I got the cabinets cleaned out and organized, I worked on getting all of my tools prepared. I have a small metal cart that I used to house my toolbox, drill, electric screwdriver and other supplies, while I employed the countertop as a paint station. I’ll share more details in a cabinet painting post next month, but I’m using foam rollers, bonding primer and ready-mixed paint for this project (simple is key).
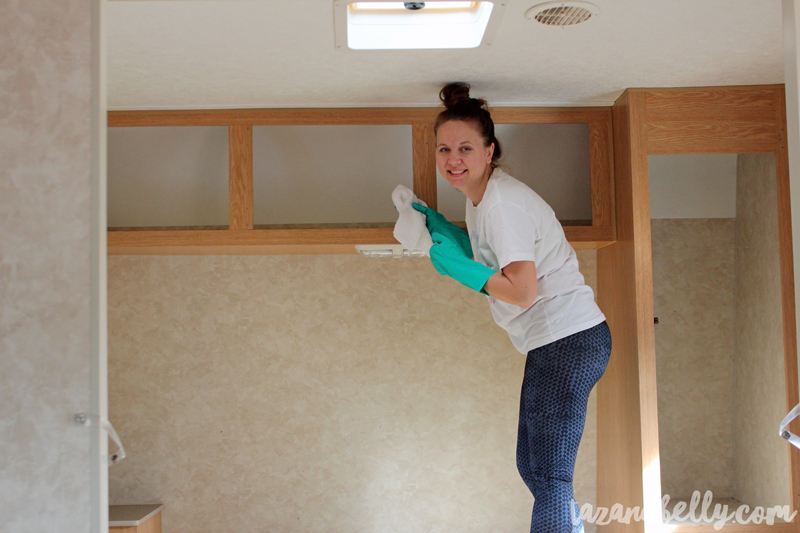
This is quite possibly the least flattering photograph of all time and clearly the worst photo of myself I’ve ever shared here, but Ella is at an age where she loves to operate my camera and she was pretty pleased with herself for catching me while I worked.
The cabinets in my parents’ trailer were really dark and it took my mom two coats of primer, plus two coats of paint, to cover. Once I applied the first coat of primer, it was obvious that I didn’t need to make a second pass. It’s not like it cut a huge amount of time from this project, but I’ll happily take 45 minutes of my life back!
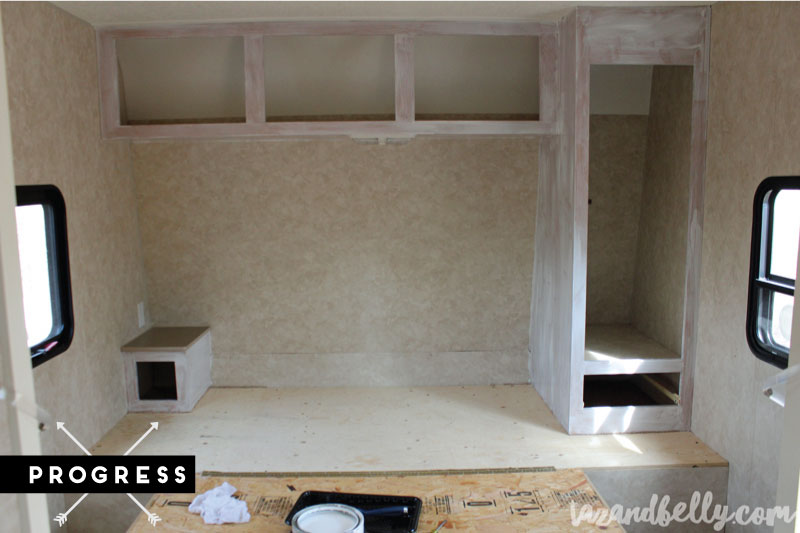
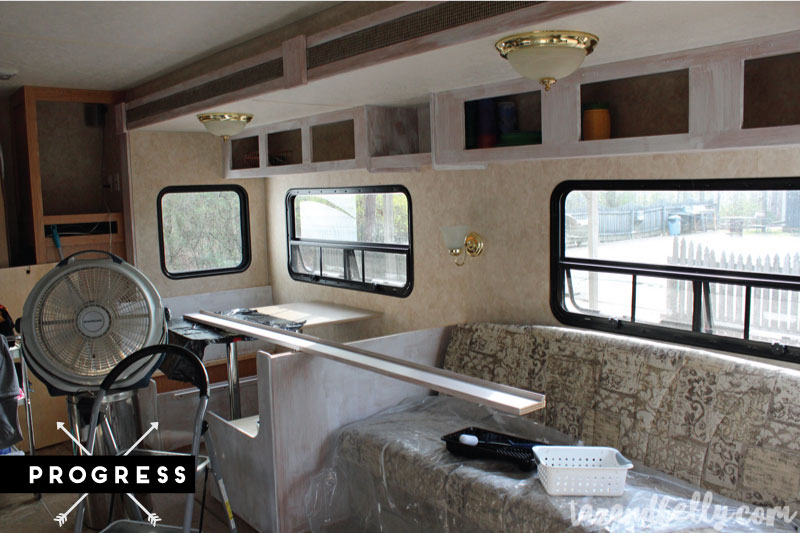
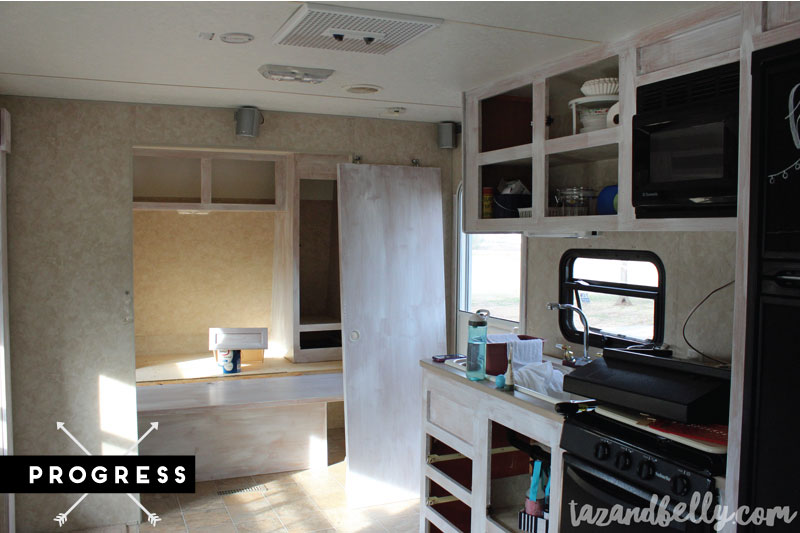
I was surprised to see how fast the priming went and moved on into the living area to work. We are using the bunkhouse for storage until the front bedroom is finished, so I’ll finish priming and painting those areas in a few more weeks.
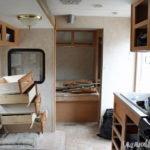
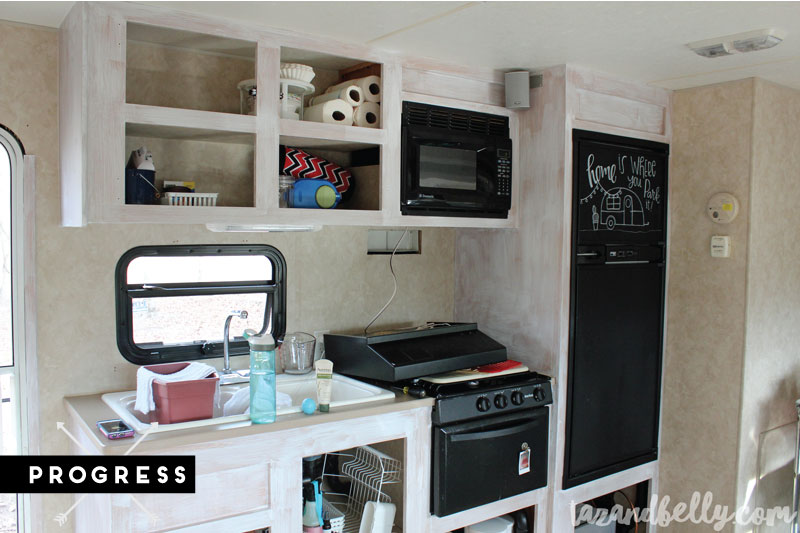
I do still love my chalkboard refrigerator, but I’m contemplating a new design. Ella is mad at me about it, but what else is new? On a whim, I uninstalled the vent hood over the stove so that I could paint the underside of the cabinets. I was surprised to see how much roomier it felt, so I disconnected the electrical and stored in under our dinette. We don’t cook enough to warrant the stove and I love the extra light. I have an idea about patching the wall above the stove, so no panicking, please.
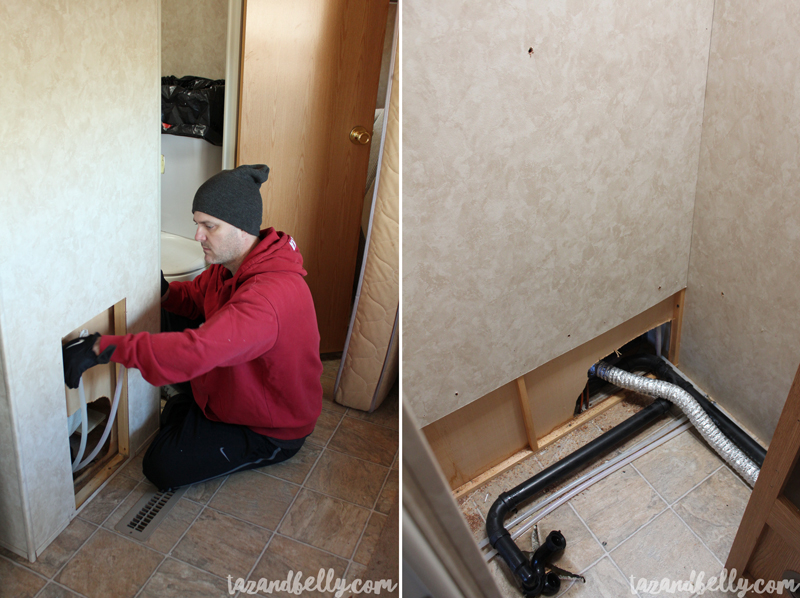
We bought lots of fun things for the camper at IKEA on Saturday — I’ll have to do a shopping and inspiration post to share all of the details. While we walked, Josh started talking about a few camper projects he’d like to do. As much as I wanted to accomplish this project on my own, I’ll welcome the help on some larger projects and appreciate all of his great ideas. The first of which was gutting the bathroom.
While we use the vanity and the toilet pretty regularly, we’ve never used our shower a single time in the four years we’ve owned this trailer. The bathhouses at our favorite campground are nice and clean and it is much easier for the girls and I to shower simultaneously, rather than take turns with a tiny hot water heater. Josh and I agreed that removing the tub/shower combo will open up more floor space and allow for plenty of shelves and hooks for storage (and a place for our trashcan!).
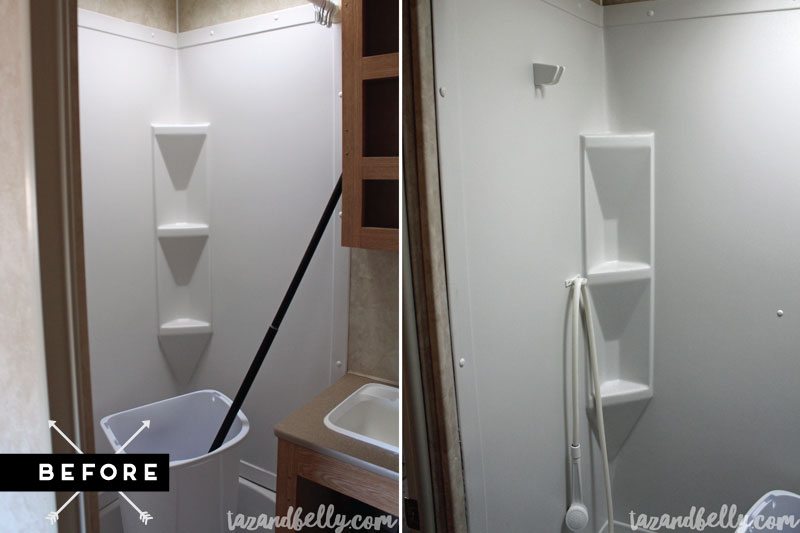
He got everything uninstalled on Sunday morning and we were left with a few holes in the wall and some pipes running from the kitchen to the bathroom. We have plans to make a false floor to cover most of that up and install a wall of shelves for bath and beach towels, extra pantry items and the baskets we carry back and forth to the bathhouse.
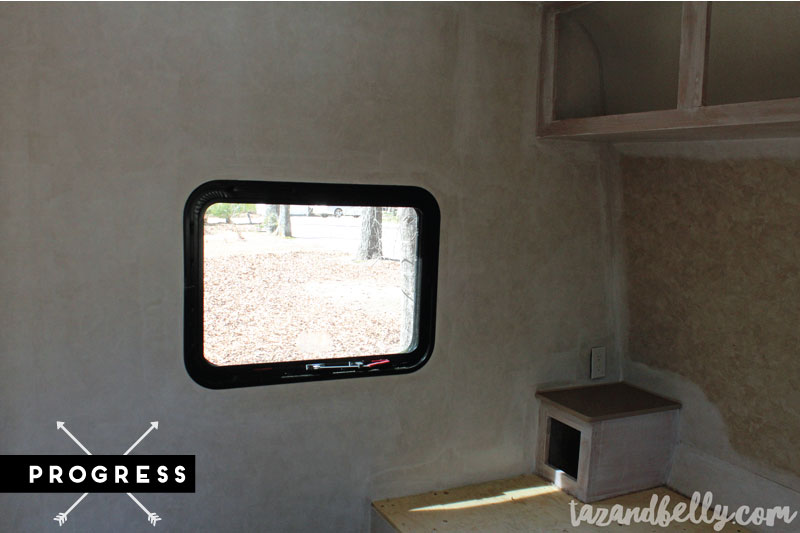
After the bathroom revelation, I decided to paint the camper walls. I had no idea how this would work and if I would want to commit to painting the entire trailer, so I started with my bedroom walls. I got everything primed and the first coat of paint on just before sunset and it looks great. The photo below is primer only — I wanted to wait until the paint dried to photograph my progress and it was flooding when I left for work this morning. Just know that the paint is covering that paint stroke panelling just fine and I can’t wait to have a lighter, brighter space.
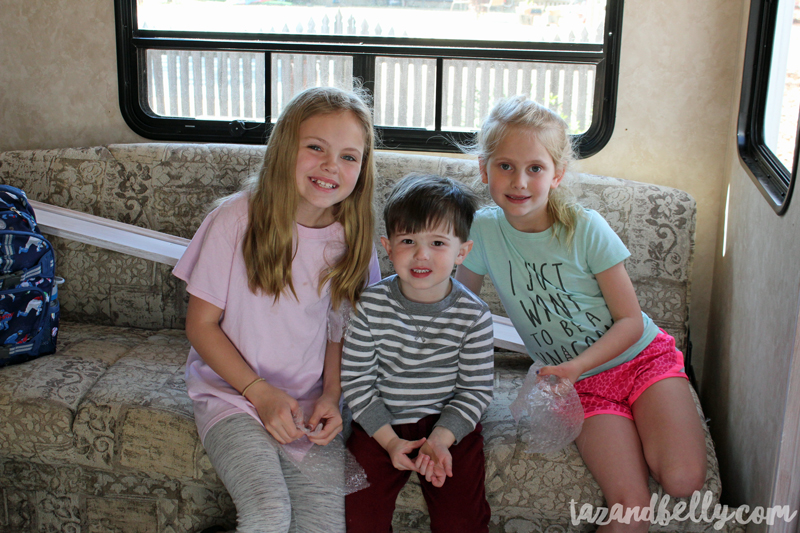
Did I mention that the three musketeers helped me for most of the afternoon? Hudson asked if he could help and told me he was a great painter.
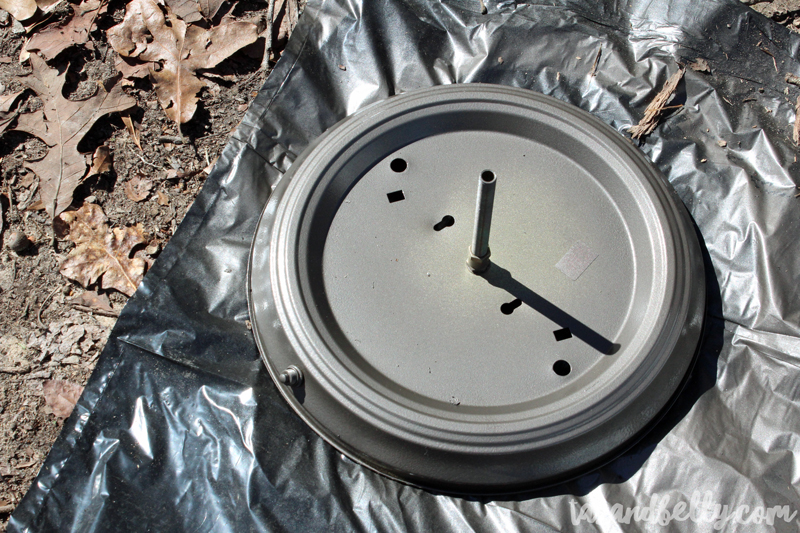
I ordered a replacement light fixture for the wall sconce, but almost all of the camper lights of the appropriate voltage looked exactly like the ugly lights I already had. Instead of spending $30 each to replace them with identical lights, I uninstalled them and painted them with oil rubbed bronze spray paint. I actually love the way it looks on both the lights and the cabinet hardware.
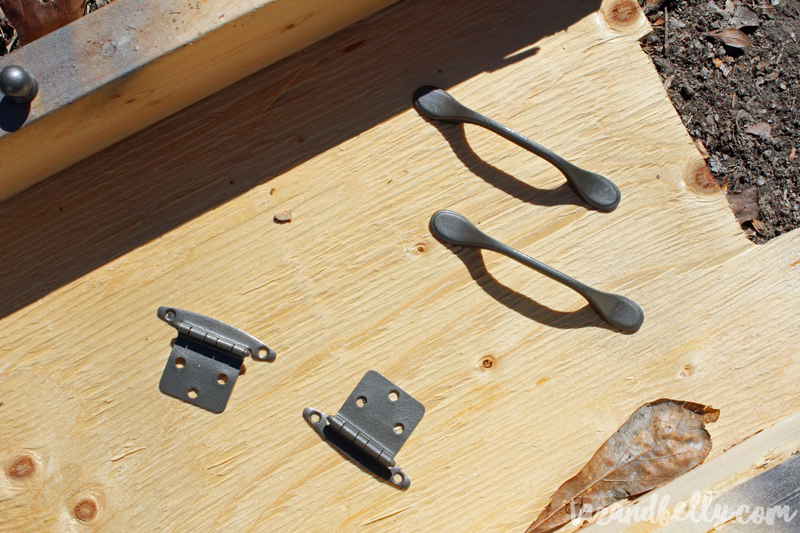
Update: I ran out on Tuesday morning and grabbed a few more photos of the dry paint! This is one coat of primer and one coat of wall paint. I am so impressed with the coverage — the walls are slightly textured, but the paint covered the faux finish look perfectly. I’m hoping to get this room caulked and one more coat of paint on before the weekend, so that I can get my pretty wallpaper up on Saturday or Sunday. Stay tuned!
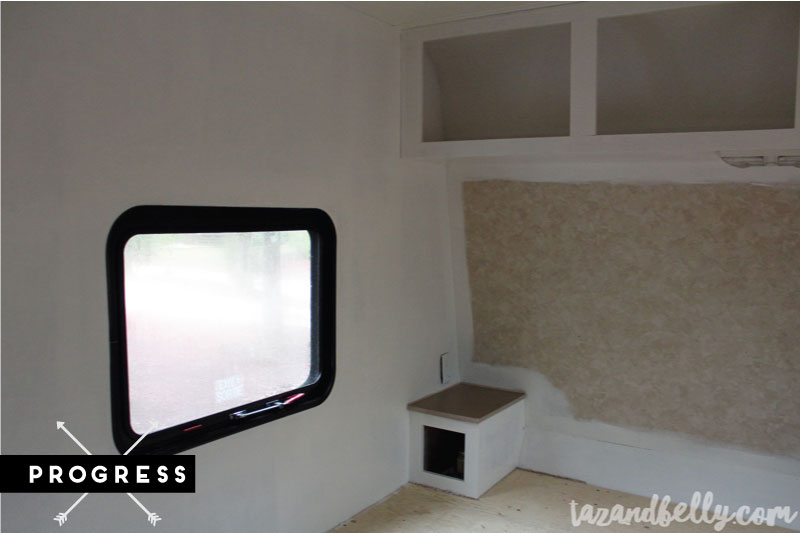
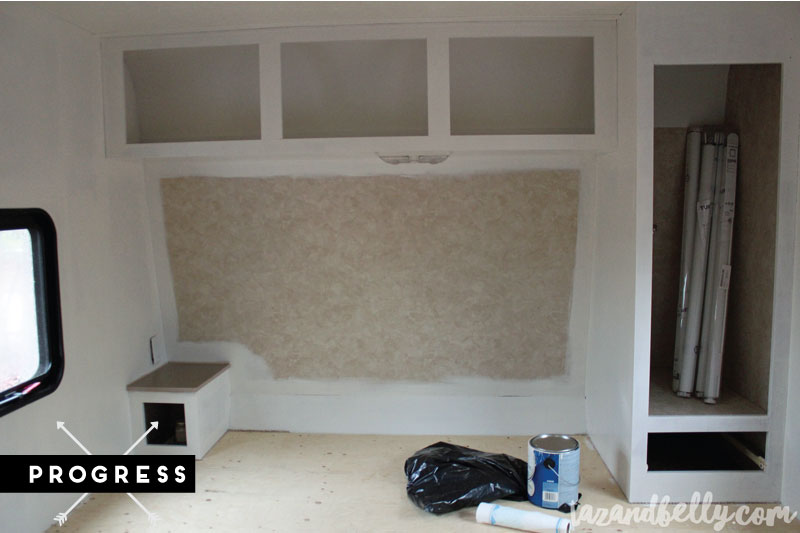
In case you’re taking notes, I want to keep a running list of our camper projects, so I can easily see how far we’ve come and what all still needs to be accomplished. I got a great deal done over the weekend and I have beautiful fabric and wallpaper headed our way from a few of my favorite sponsors. I can’t wait to share our design plans with you soon!
Because I’ve added a few things to our list, I italicized them so you could see the differences from our original plan.
Dining + Living To Do:
Remove valances and mini blinds- Add hardware and curtains to slide out windows — we purchased fabric & hardware at IKEA
- Prime and paint all woodwork a warm white
- Paint cabinet hardware and l
ight fixtures oil rubbed bronze - Recover couch and dinette cushions with washed denim fabric — fabric is en route!
Replace television with a flat screen (possibly flip up) version— my parents gifted us a small flatscreen- Cut down entertainment center and mount TV above
Replace wall sconce- Paint camper walls white
- Paint bedroom and bathroom doors peacock blue (like in our old house)
- Add pillows, throw blankets, and tray table
Kitchen / Pantry To Do:
Remove valances and mini blinds- Add cafe curtain above the sink
Primeand paint all woodwork a warm white- Paint cabinet hardware oil rubbed bronze
Remove wallpaper border- Add over counter storage for paper towels
Remove vent hood from above ovenPaint refrigerator panels with chalkboard paint- Add flip up countertop to left end of cabinets
- Add shelves or basket drawers to pantry cabinets (not shown here)
- Consider replacing kitchen faucet
Master Bedroom To Do:
Remove valances and mini blinds- Add blackout roller shades — we purchased these at IKEA
Remove doors and hinge hardware on upper cabinets (hello, open storage!)- Add baskets to over-the-bed cubbies
Prime and paint remaining woodwork a warm whitePaint closet hardware oil rubbed bronze- Add removable wallpaper above the bed — hoping to order this week!
Remove carpet from bedside storage compartmentsand cover with wood- Add bedside sconce or hanging light — also purchased at IKEA
Update bedding and maximize storage underneath- Add hooks to entrance wall for added storage
- Paint sliding doors peacock blue
Bathroom To Do:
- Prime and paint woodwork a warm white
- Prime and paint door peacock blue
- Prime and paint walls light blue
- Apply any leftover wallpaper as a bathroom backsplash
- Paint door and cabinet hardware oil rubbed bronze
Remove medicine cabinet doorRemove wooden towel racks and toilet paper holderRemove tub and shower surround- Add shelving unit and hooks to allow for storage
- Add a full length mirror to the exterior wall or door
Bunkhouse To Do:
Remove curtains and mini blinds- Add blackout roller shades — these have been purchased
- Prime and paint cabinets a warm white
- Remove clothing rod and add shelf to cabinet
- Paint cabinet hardware oil rubbed bronze
- Add removable wallpaper on back wall (think hot pink flamingos)
- Remove carpet from bedside storage compartment and cover with wood
- Update bedding and accessories — these have been purchased
Read part one of our camper story here.
