If you’re here looking for all of my Bible Journaling posts, you can click here or find it under the Categories drop-down menu above. Affiliate links appear in the following post. Although shopping the embedded links won’t cost you any additional dollars, it might earn me a small commission on sales. Your support of this blog is much appreciated!
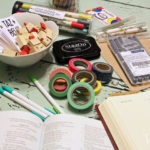
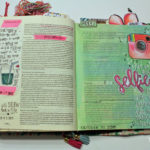
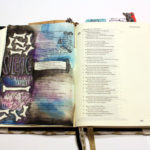
When people see my Bible for the first time, I almost always hear “How did you do that?!” followed by “Where did you get your Bible?” and “What supplies do you recommend?” I shared a video of My Favorite Journaling Supplies way back in March, but I had only been journaling for a few weeks and still had so much to learn! Now that I have been actively illustrating my Bible for almost nine months, I wanted to share an updated list of supplies. It worked out perfectly that I’m talking about my Bible all month long.
Remember, you can use as many or as few of these supplies as you can afford! Don’t stress over spending money and don’t ever let yourself wait to connect with the Word until you have the “right” supplies. These are just suggestions for those of you who might be looking to add a few new art supplies to your arsenal.
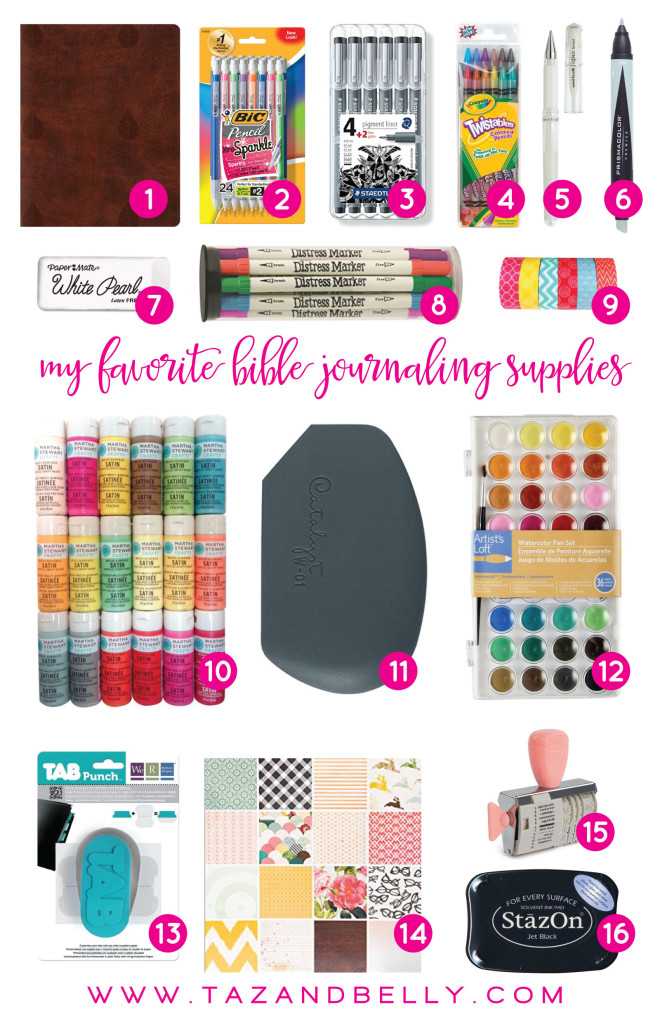
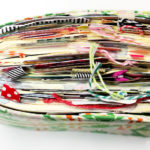
1 Single Column ESV Journaling Bible by Crossway Books: I didn’t do much research before buying my first Bible, but I’ll admit that I got really lucky. I ordered this one from Amazon before Christmas last year and my only requirements were a single column of text and soft binding. I like having the text in a single column because it makes for easier reading and I like the way it looks when I highlight or point out my scripture references. While a hardback Bible might provide a good surface for writing, I like the flexibility of the leather binding. No matter how much I add to my Bible, it grows and expands with every page.
2 Mechanical Pencils: This is one of those supplies where the brand or cost doesn’t really matter, but I much prefer pencils with replaceable lead to those I have to sharpen! I usually pick mine up in the dollar spot at Target, but these work just as well.
3 Pigment Liners by Staedtler: Not all pens are created equal. I’ve tried all sorts of pens, by different manufacturers, in different sizes and these are the best. This set comes with various sizes (the 0.1 and 0.5 are my favorites), writes so smooth and doesn’t bleed or smear. They write well over both acrylic paints and watercolors and don’t fade over time. They aren’t as inexpensive as some other options, but they last forever and are well worth the investment.
4 Crayola Twistable Colored Pencils: I have several sets of more expensive colored pencils, but I always come back to the box in my daughters’ art bin. I love never having to sharpen them and the perpetually dull point makes shading and blending a dream. They only cost a couple of dollars and you can get anywhere from 10 to 48 different colors in a package!
5 Signo Uniball Gel Pen in White: I’ll admit that I’m still not in love with this pen, but of all of the white pens I’ve tried, it is definitely the easiest to work with. You might wonder why you even need a white pen, but I love writing over dark paints and highlighting illustrations using this guy. It will smear until it’s fully dried, though, so be careful.
6 Prismacolor Marker in 30% Cool Gray: This was one of the first “extra” supplies I picked up after sleuthing other journalers Instagram feeds. This marker is perfect for adding drop shadows to your lettering and illustrations. It makes a graphic punch and really helps your work jump off of the page, especially on a white background.
7 White Eraser: Don’t make the mistake of erasing with a colored eraser. You might get lucky and have no disasters, but you just might have a cloud of pink eraser residue left on your perfectly illustrated page. I always recommend a white rubber eraser when working in your Bible. You never have to worry about any unwanted color on the page and they work so much better than other erasers.
8 Distress Markers by Tim Holtz: These are definitely a splurge, but one that I recommend if you have the extra funds. They are water soluble, meaning they WILL react with water, even after they are completely dry. Think of them as watercolor paints in a pen. You can use them like a marker and color just like you always do, or you can add a water brush to make them more painterly. The manufacturer has a great video to show you all the ways to use these amazing markers. Just be sure to store them horizontally so neither of the nibs dry out!
9 Washi Tape: Need I say more?! Who doesn’t love this removable, pattered tape? If you haven’t discovered washi tape for yourself, you can stalk the dollar spot at Target or check out the more expensive options in their stationery aisle. There are countless sizes and patterns on Etsy, but be prepared to get lost down a rabbit trail. Washi is perfect for adding embellishments, creating flags and marking the edges of your pages.
10 Martha Stewart Craft Paints: You can use any acrylic crafts paints that you like, but the Martha Stewart paints come in the most beautiful colors and I’m a sucker for their pretty packaging. I’ve tried heavy body paints like Liquitex and Master’s Touch, but I always come back to these. You can water them down a bit and create a color wash or paint with full strength for more drama.
11 Catalyst Paint Wedge: Not comfortable using a paintbrush? This wedge by Catalyst makes putting paint on your page a dream. Just add a small dot of paint right on the edge and drag the tool across your page. It helps you lay down a very thin layer of paint to your pages and dries in seconds. If you don’t feel like committing to tools, you can always use an old gift card or credit card in the same way.
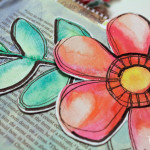
12 Watercolor Paint: I was a latecomer to the world of watercolors, but it is quickly becoming my favorite medium. I started with a more expensive set from Hobby Lobby, but this set by Artist’s Loft can be found at Michael’s for LESS THAN FIVE DOLLARS. If you only buy a single supply I’ve suggested, this should be the one. The colors are beautiful and they don’t bleed at all.
13 We R Memory Keepers Tab Punch: I love using this paper punch to create tabs at the top of my Bible pages. You can punch cardstock or other heavy paper for a single tab or fold thin paper in half and make a tab that folds over and can be used on both sides. The tab punch comes with clear plastic stickers to protect your tabs and while I really like the way they look, they are a bit heavy for thin Bible pages. I’ve had a few pages rip under the weight of the tab covers, so I recommend saving those for another project.
14 Patterned Scrapbook Paper: I love using double-sided scrapbook paper for tabs and tip-ins. You can usually find smaller packs that cost less and are perfect for this kind of project.
15 Rolling Date Stamp: Remember when I told you to date your pages? Yes, you can easily write the date on the page of your Bible (I still do that sometimes), but I love using this date stamp in the margins, too. Studio Calico has a really cool oversized one that I’ve been dreaming about, but it’s currently out of stock.
16 Black Ink Pad by Staz On: This is my favorite ink for stamping and the only one I use in my Bible. It is pigment based, so it doesn’t bleed or smear when used over (or under) paints and water. I would recommend taking the clear plastic cover off and letting it sit on your shelf for a few days before you use it in your Bible. The ink is very heavy when you first open the package and might bleed through your pages until it dries out a bit!
