Warning: Affiliate links appear in the following post. Although shopping the embedded links won’t cost you any additional dollars, using the links below to shop may result in a small commission for me. Thanks for supporting the brands that make this blog possible.
I had no idea when I brought these nine mats home whether the finished product would look anything like it did in my head, but I had to give it a try! And based on the Instagram comments and emails, I’m guessing you might be interested in how it all came together!
One of things on my “to buy for camping” list this year was a polypropylene mat for under the awning. It isn’t that they’re pricey, but they aren’t exactly beautiful and I never love to spend $50 on something that isn’t positively adorable. It’s a curse! One afternoon, I stopped at Five Below to pick up some floats for the kids and I grabbed one of these mats to use on the beach. It was adorable and only FIVE DOLLARS. For days I couldn’t get that stupid mat out of my head and on the drive home one afternoon the reason dawned on me — I could totally make a patchwork camper mat using these!! I grabbed nine more mats and some E6000 and set out to make my dreams come true.
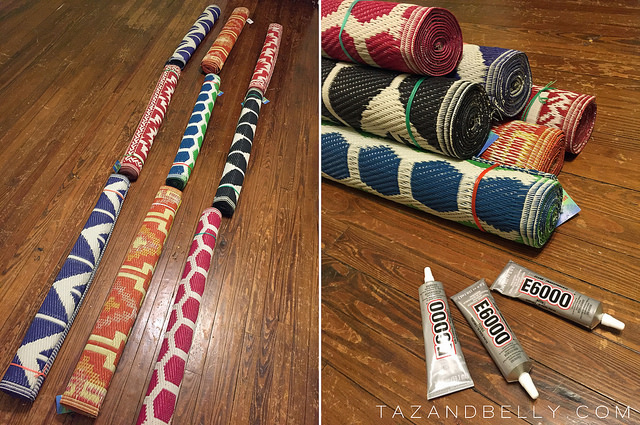
I was hoping to find nine different patterns, but had to settle on repeating a few. I laid them all out in the floor of the playroom and decided on a pattern. I only unrolled three rugs at a time, attaching them as I went, because there wasn’t enough floor space to have them all out at the same time. I am sorry to report that the glue did NOT do the trick. The mats refused to stick together and the glue wouldn’t dry unless I put pressure on it. Putting pressure on eight different seams the NIGHT BEFORE WE LEFT FOR THE BEACH did not seem like a great game plan. Instead, I whipped out the needle and thread.
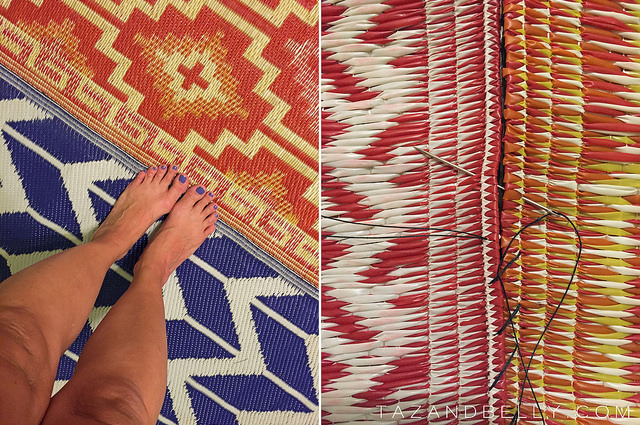
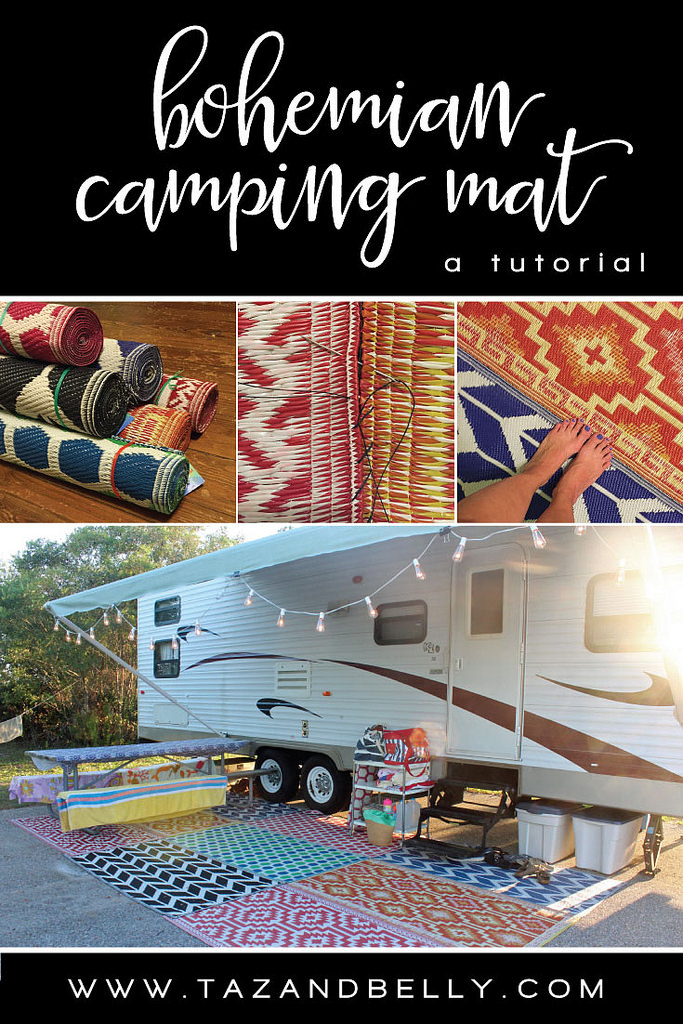
I used heavy upholstery thread and a long needle and just whip-stitched the edges, joining three mats together. The stitches aren’t perfect and white thread would probably have looked better, but it was midnight and I was frustrated and when you are standing up, you would never notice the seams at all.
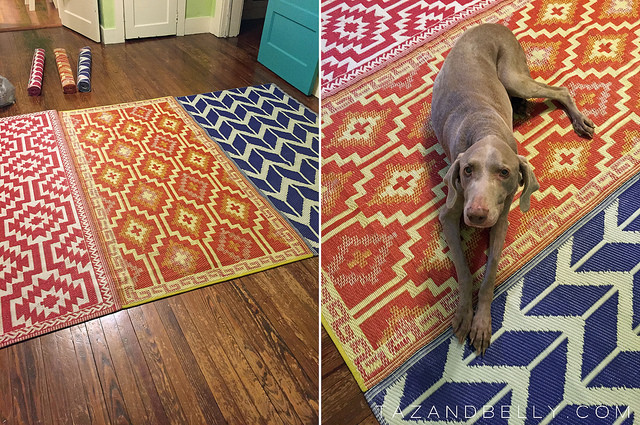
My plan had always been to sew the three sections together, making a 9×18 foot mat that would perfectly fit beneath our camper’s canopy. I changed my mind at the last minute for two different reasons. One, all the mats varied slightly in size. No matter how I arranged them, I could not get them all to line up perfectly. I just made sure to sew each three mat section so that there was one straight edge, but the other edge varied {you can see that a bit in the photograph on the left, above}. Two, having one giant mat meant that the only place I could use it was on camping adventures and I worried it would be too difficult to fold or roll up for storage. I ended up making three separate sections and we just overlapped them in front of the camper. I made sure to leave a straight edge on either end and to overlap the uneven ends in the middle. Y’all, is this not the cutest?! I had so many people stop to ask me about it and I am even more in love with it now than I was when it was all in my head! The mats did fade a bit in the hot summer sun, but that only adds to the look and didn’t bother me at all. I think I’ll always face them the same way so that I have a faded side at the beach and a bright side to use for parties when we are back home.
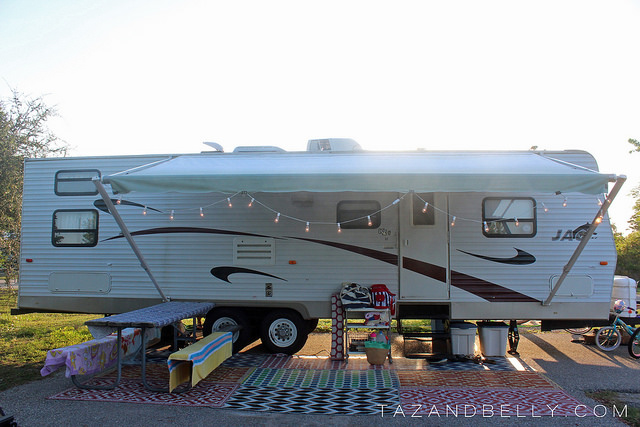
I will not tell you this was easy {I had a blister on my index finger for weeks}, nor will I tell you it was quick {this took about 3-4 hours to complete across several days}, but the end result was definitely worth my time and the less than $50 I spent!
Now what are you waiting for?! Go track down your mats at Five Below.


