Affiliate links appear in the following post. Although shopping the embedded links won’t cost you any additional dollars, it might mean that I earn a small commission on any purchases made. Your support of this blog is always appreciated!
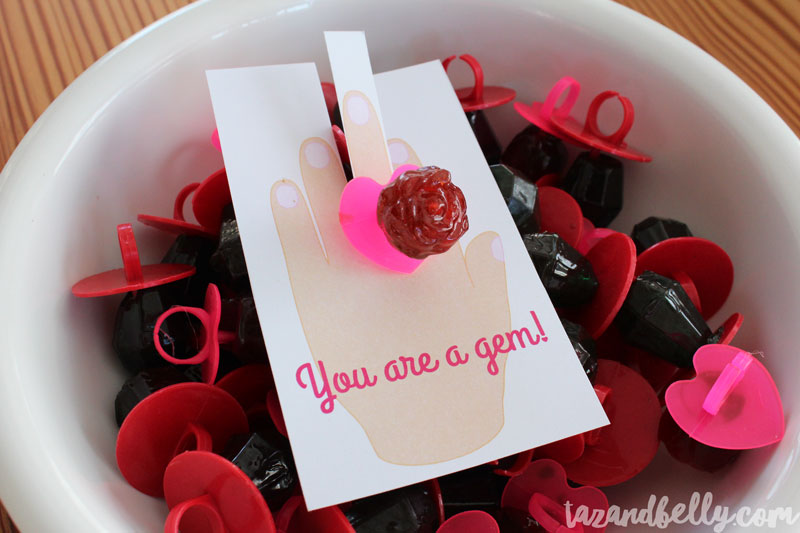
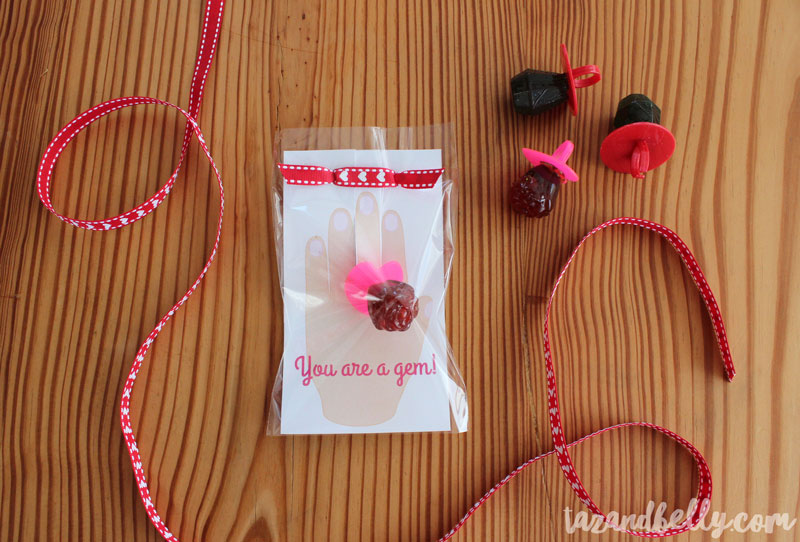
One of the things I wanted to do more of in 2015 is to share step-by-step tutorials with printable design files, so you can create some of our fun crafts yourself! Usually the girls are full of ideas and know exactly what they want to share with their classmates. Maybe it’s because we started talking about it so early in the year, but they were pretty open to ideas this time around. I scoured Hobby Lobby as soon as their Valentine’s Day goodies were on the shelves and found some really cute ring pops that the girls loved. They are a little smaller than the ones I’ve seen at the grocery store and they were only $2.49 for a bag of eighteen. We bought enough for both girls to share with their school friends and started thinking about cute tag lines we could use with rings. How cute is “You are a Gem”?!
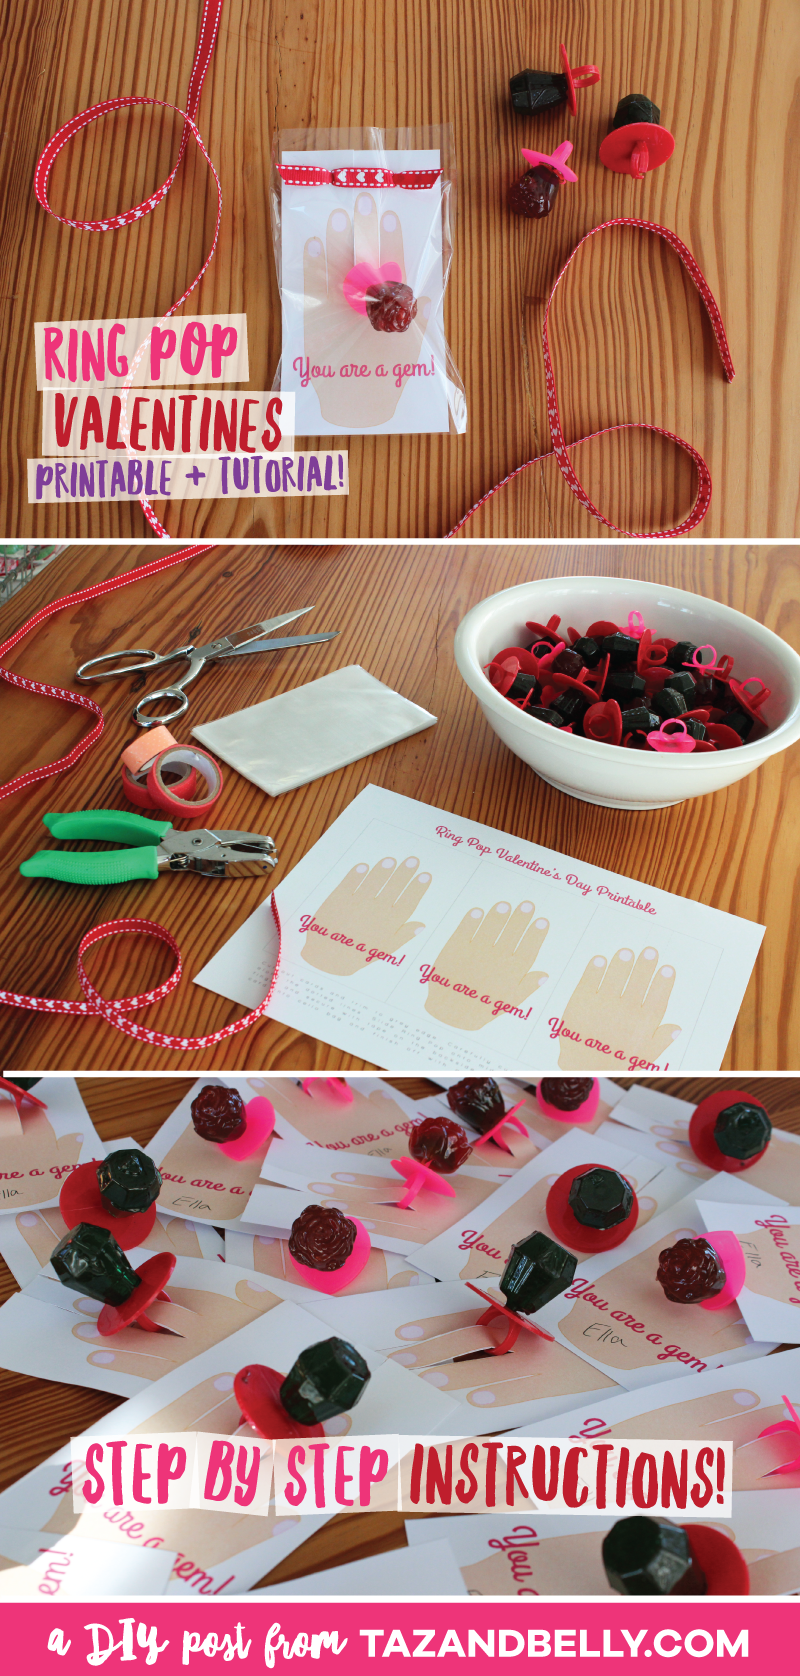
Supplies needed: printable file | ring pop lollipops | decorative ribbon | washi tape | cello bags | scissors | single hole punch
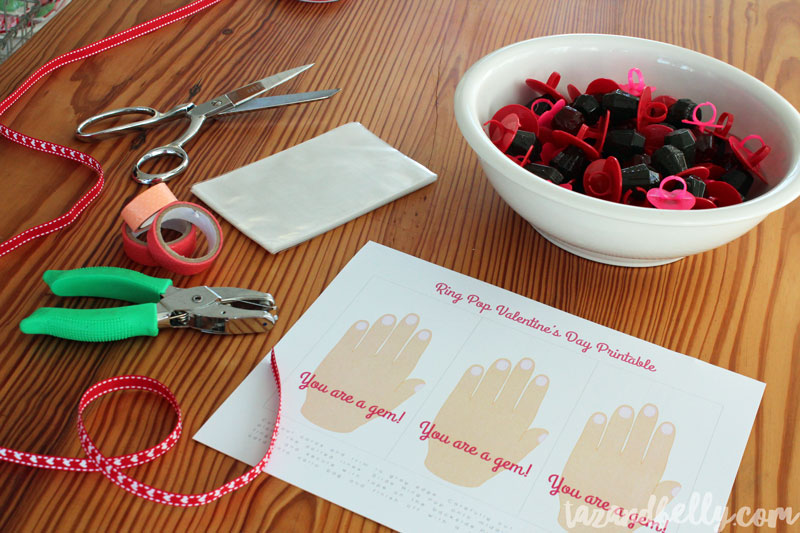
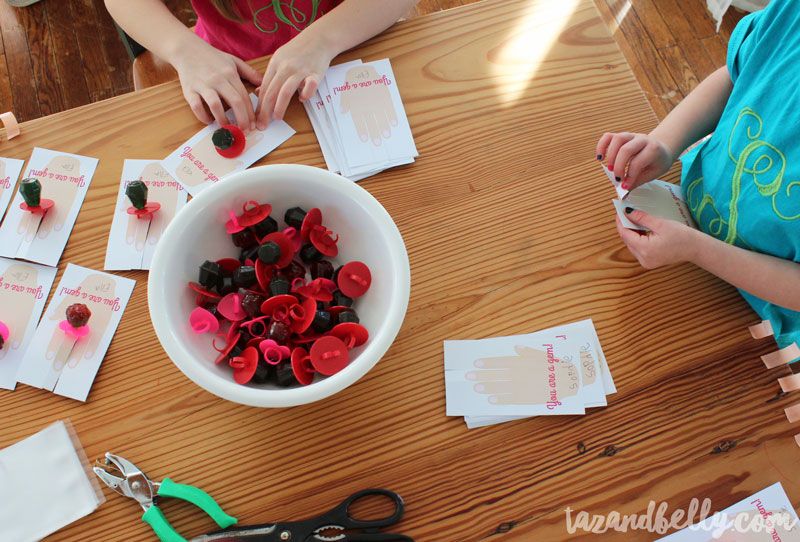
Cut the individual cards out, following the grey lines, and cut along the dashed lines in between the fingers. These will allow us to place the ring on the hand! Cut the decorative ribbon into 6-8 inch lengths depending on the width of your cello bags.
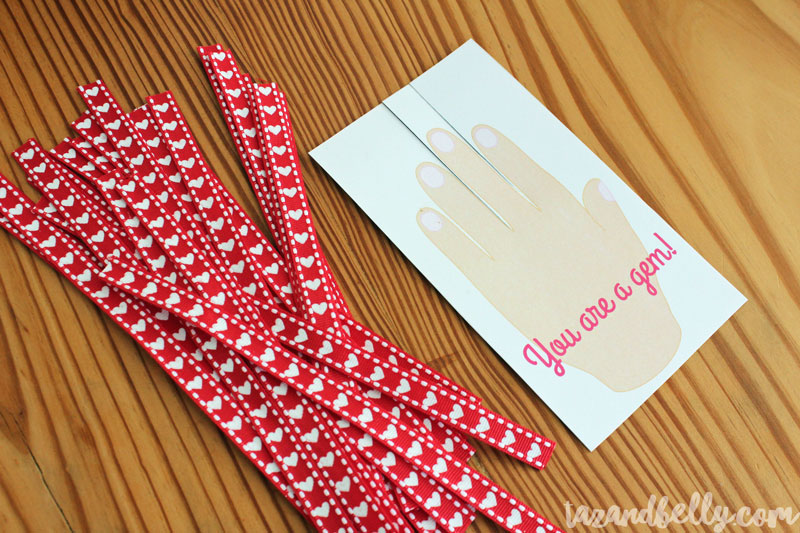
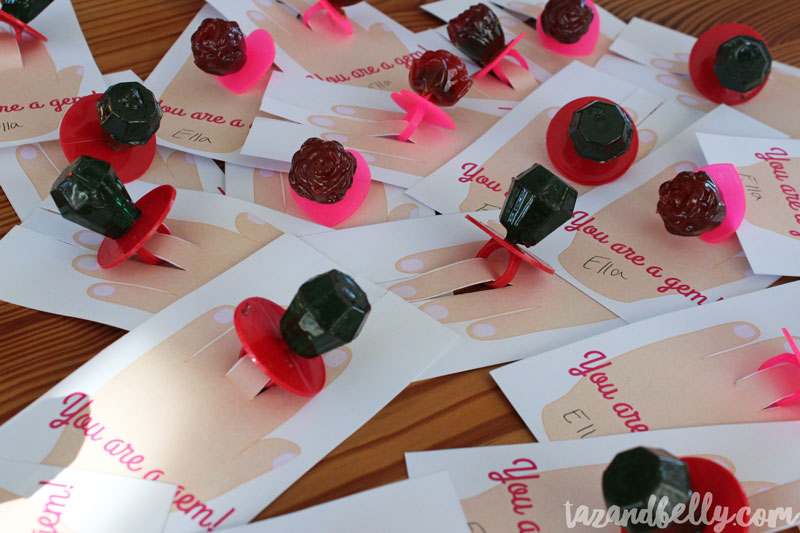
Place a ring pop on each card, sliding it as far down the finger as it will go. The width of our fingers were slightly larger than the ring pop, so we pinched the paper slightly to make it fit.
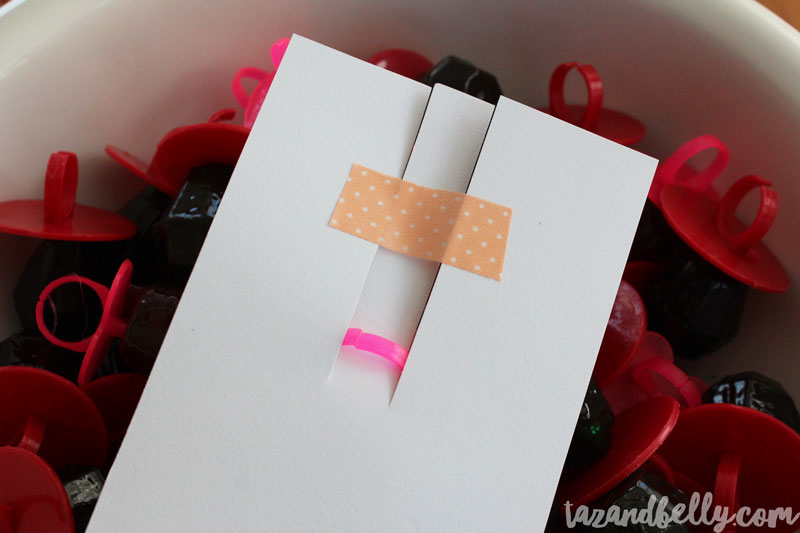
Turn the card over and secure the ring by placing a piece of tape just above the ring pop. We used coordinating washi tape I picked up in the dollar spot at Target.
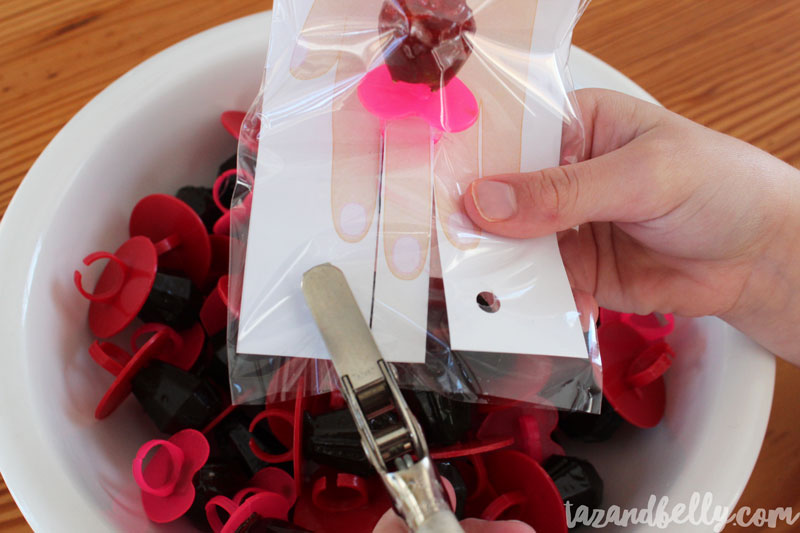
Place the finished card into cello bags {Our cards are designed to perfectly fit the 3.25×5.75 inch ones in the baking aisle at Hobby Lobby} and punch a hole through the bag on either side of the middle finger.
To create the ties, we pushed the ribbon through each hole on the front of the bag, keeping it flat.
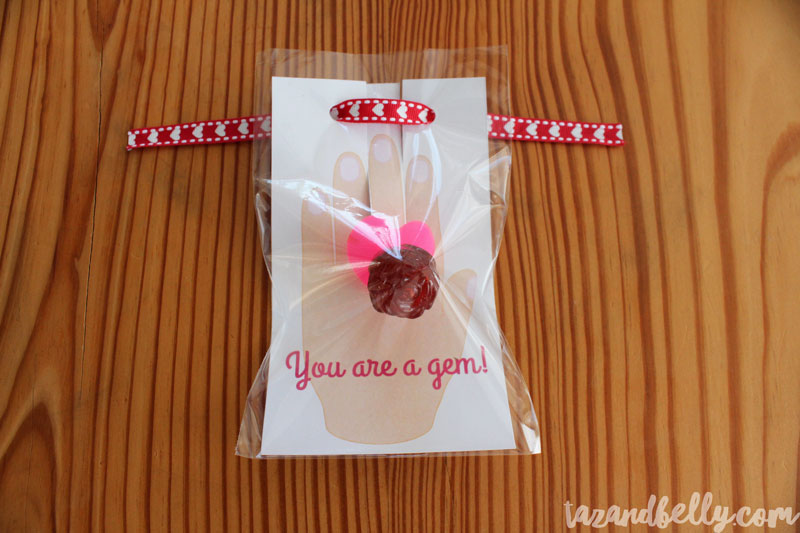
Then, turning your bag over, cross the extra length of ribbon and push the ends through the opposite holes on each side.
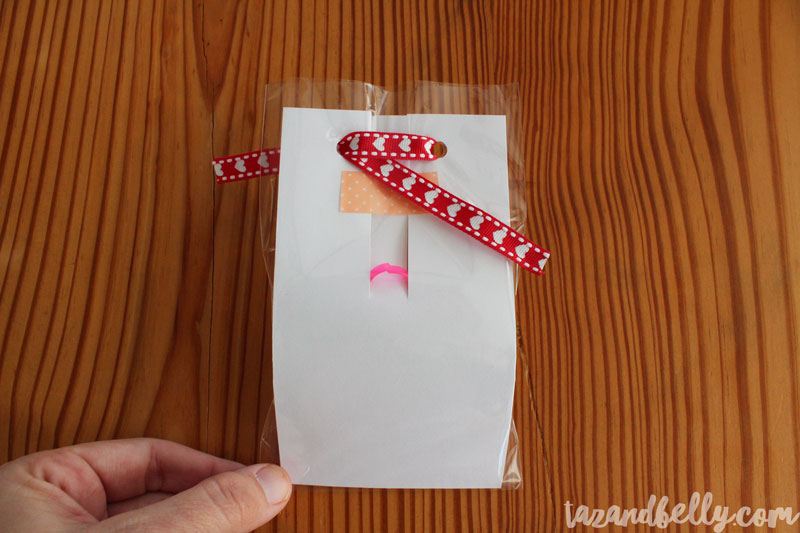
Trim the edges of the ribbon on either side to finish! On the Valentine’s treats we made to share, I let the girls write their names just under the text on the front of the card before we assembled them.
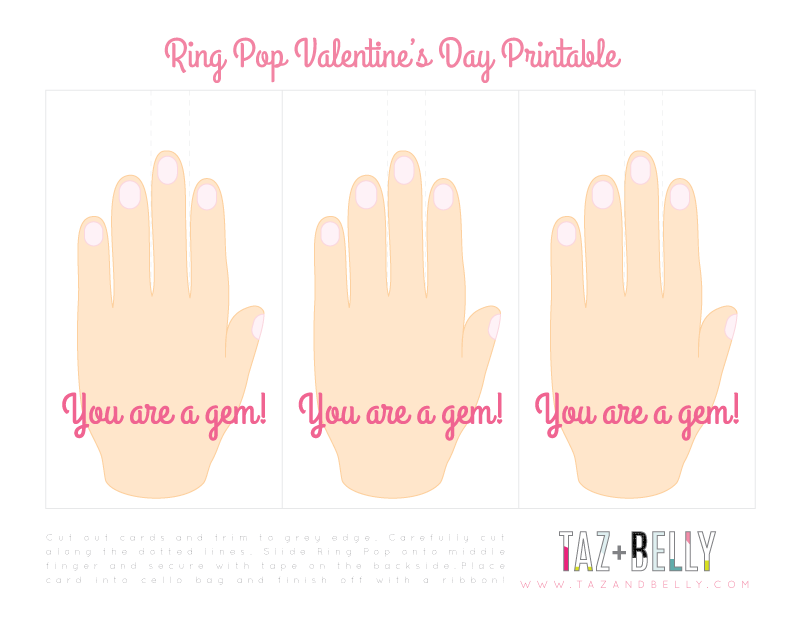 Click here to download a PDF file for your personal use. Or click the contact button in the sidebar to chat about custom Valentine’s Day cards just for your little one! Come back on Friday for another adorable idea for your Valentine’s this year.

