I posted this picture on Instagram a few days ago and I’ve had quite a few emails and text messages about my tree skirt and how I made it. I swear I thought I did a tutorial post, but the only thing I could find in the archives was this post about how much I loved it! I couldn’t even find proper “in progress” shots.

I made my skirt the week of Thanksgiving 2011 and it’s held up surprisingly well. I’m sure I could have sewn it or hemmed it or done something a little fancier, but the homespun look is exactly what our little rock house needs. I remember being so worried that I was going to spend a ridiculous amount of time on it and it wouldn’t turn out as well as I’d hoped, but in all honestly, I could not be any happier.
My fascination with a ruffled tree skirt started with this post over at Miss Mustard Seed. Hers is a little fuller than mine, but it was definitely my inspiration. I mentioned it in the other post, but it’s like ruffled tree skirts were taking over the world because almost immediately after reading that post I began to see tons of images on Pinterest of very similar skirts. I usually just pile antique quilts under there, but I had been dreaming of a real tree skirt for awhile. Nothing in the stores was floating by boat, so I decided to try making it myself. Two canvas drop cloths, 25 sticks of hot glue, 18 hours of football watching and $36 later, I’m was in love.
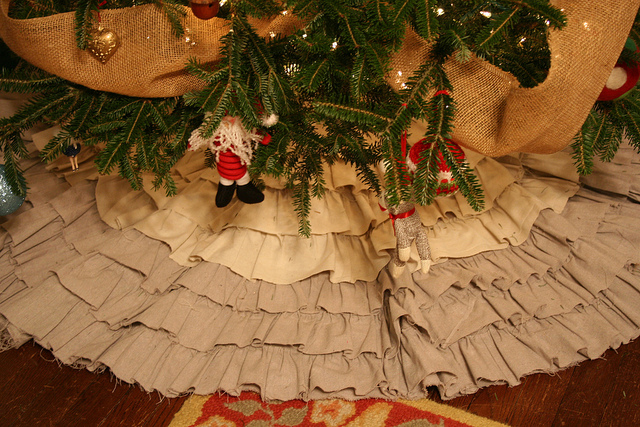
This is our third Christmas to use the skirt and it’s held up really well (By the way, these images are all from her inaugural year. I’m planning a holiday decor post with this year’s tree for later this month). I just fold the skirt into quarters and put it on a pants hanger in our storage building. I have to give the ruffles a little trim each year since it isn’t hemmed, but it only take a few minutes.
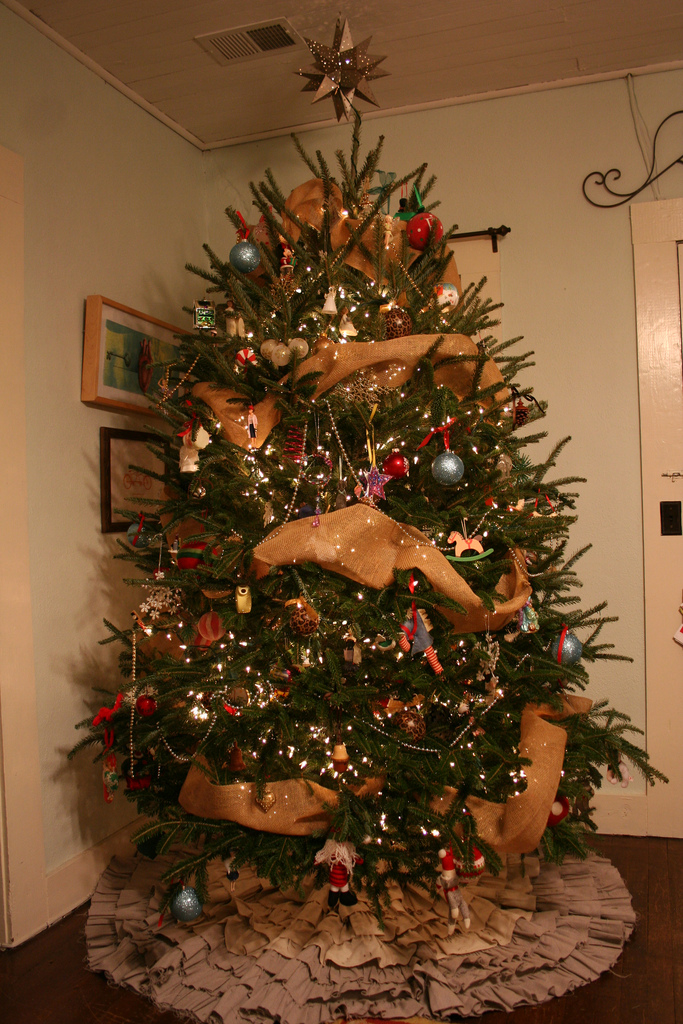
Since I don’t have photos of the process, I thought I would at least attempt to explain what I did. I used two 9×12 foot drop-cloths from Wal-mart (I think they were around $12 each) and two bags of glue sticks. I cut the largest circle I could out of one drop cloth and avoided the edges since they were rolled and hemmed. I then cut a slit from the edge of the circle to the center and cut a hole in the middle so the tree trunk would have some room. It took all the scraps from the first drop cloth and the entire second one to complete the ruffles. I cut all of that into 6 inch strips and starting at the outer edge, I hot glued the strips onto the circle to form overlapping ruffles. There wasn’t an exact science, my motto was “pinch and glue”. There were quite a few fingers burned, but I’d say it was well worth it! It’s about 8 feet in diameter, but since our tree is usually in a corner, I bunch ours up a bit around the tree. She would be MASSIVE if I stretched her out completely.You can find Miss Mustard Seed’s tutorial on HGTV.com here. It pretty much lays out what I did exactly, only she remembered to take photos!
And I couldn’t help but laugh when I saw the link to our disaster of a tree in 2010 while I was looking for these photos. Were you reading then? We had quite the Christmas tree travesty that year. I can assure you we’ve learned our lesson. We pick up our tree at the same striped tent every year since then without exception!


