I’ll admit that I kind of laughed when Ella told me she wanted a pinata at her party this year. I figure that since she didn’t ask for very much we could certainly pull that off. I looked around on-line a bit and called some local stores, but I couldn’t really find what I was looking for. Then I read this blog post and remembered this blog post. If they can do it, I can do it. Right?
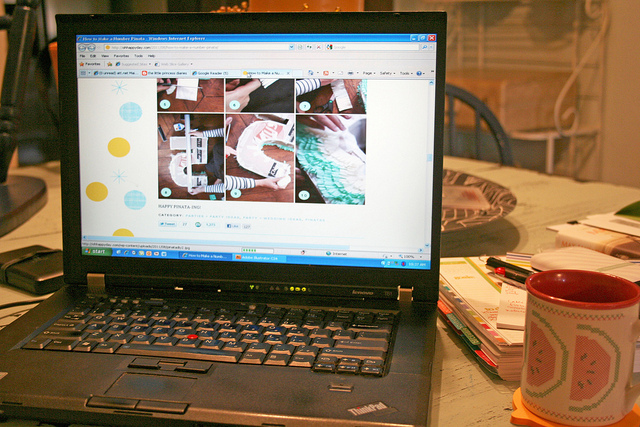
So I started with my computer, pinterest and a big cup of coffee in my favorite cup ever (yes it has a cross-stitched watermelon!),
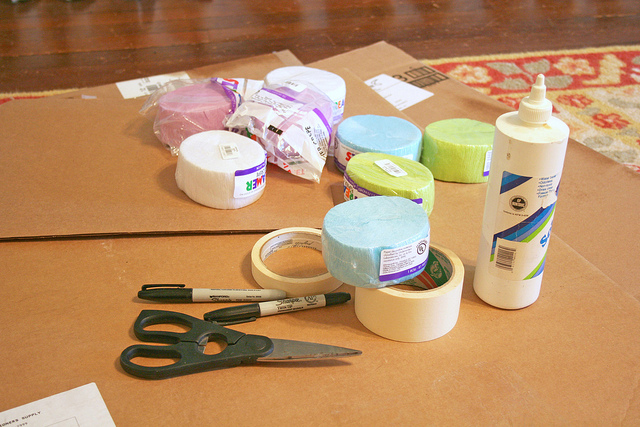
these supplies,
and it doesn’t hurt to have an assistant (even if he is a vampire — remember on the vlog I was watching this while folding laundry? well i finished all three the next day during this little project).
First, I cut out two large number fives and several four inch wide strips out of cardboard boxes that I snagged from work.
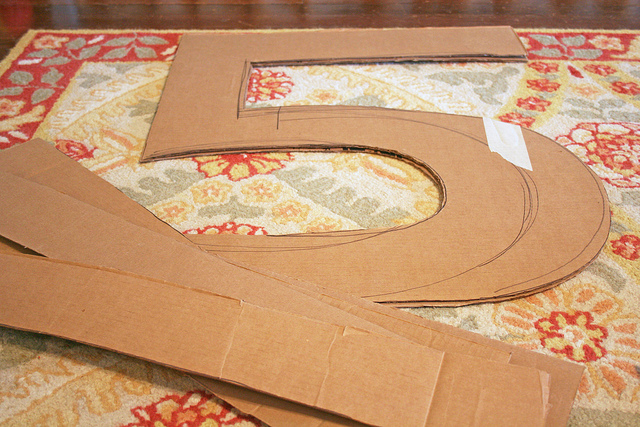
I started by taping the four inch strips around the five to create a dimensional box. I was surprised by how it easy it was to bend into shape and the number looked even better than I thought it would.
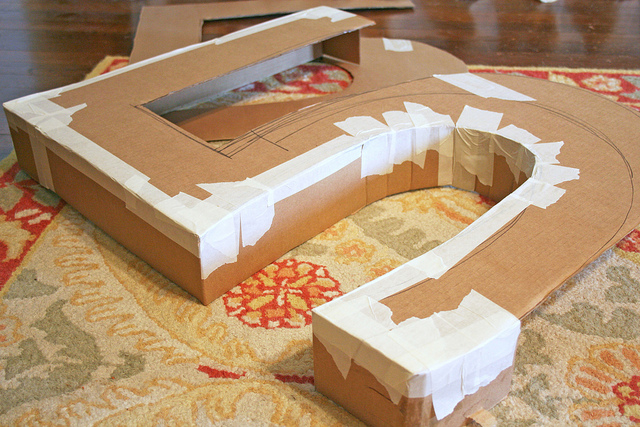
It is easier to see how I built the box here, when I turned it over.
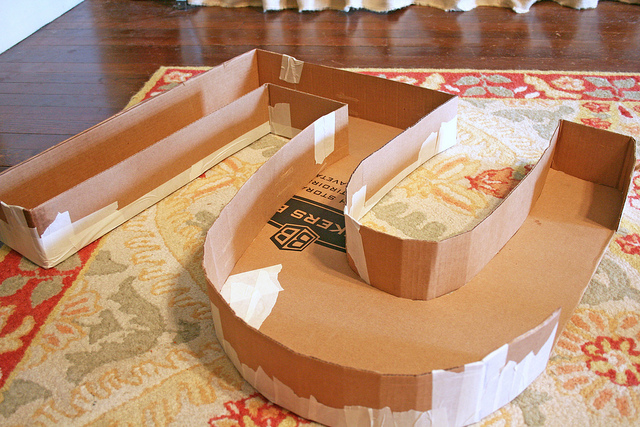
Here it is after both sides are attached to the four inch sides. Make sense now?
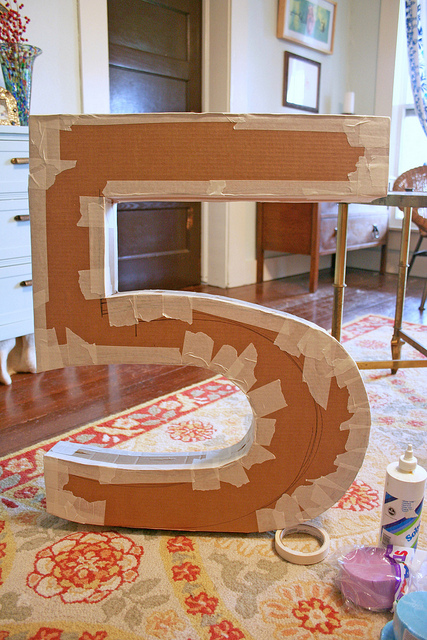
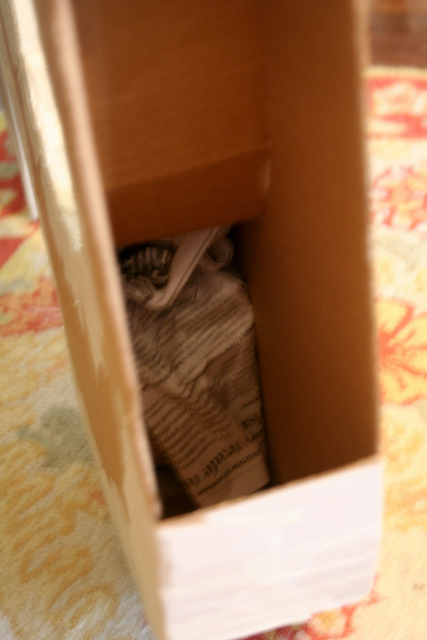
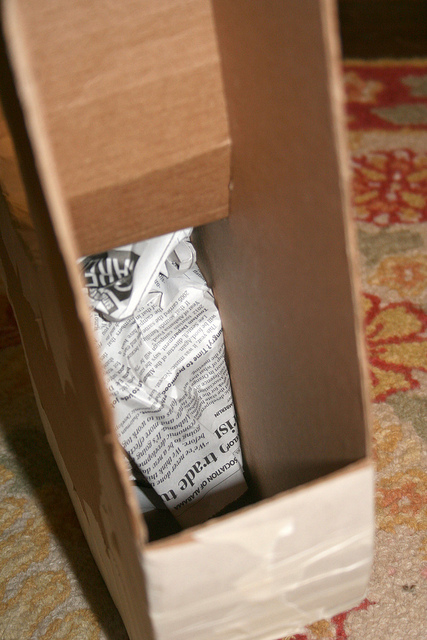
I left a 16 inch wide gap in the very bottom of the box unfinished. This will allow us to fill the pinata with candy or prizes. Since I didn’t want the candy to have free reign throughout the large shape, I stuffed it with crumpled newspaper just above the opening like so.
Then it was time for candy! I was afraid that Ella would be disappointed that there wasn’t any chocolate, but I couldn’t risk the candy melting during the party. Instead I opted for dum dum suckers, which I knew wouldn’t melt and were easy to eat for all ages.
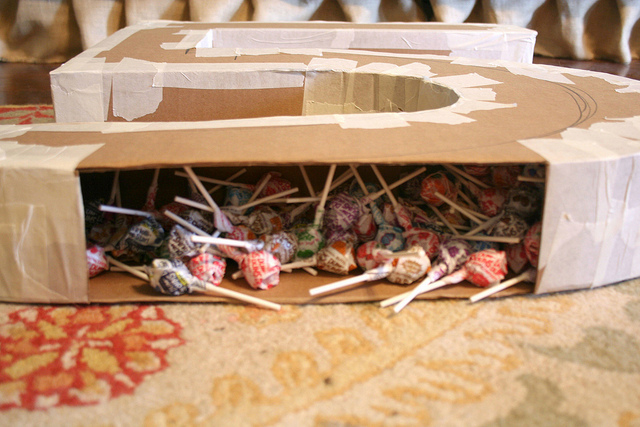
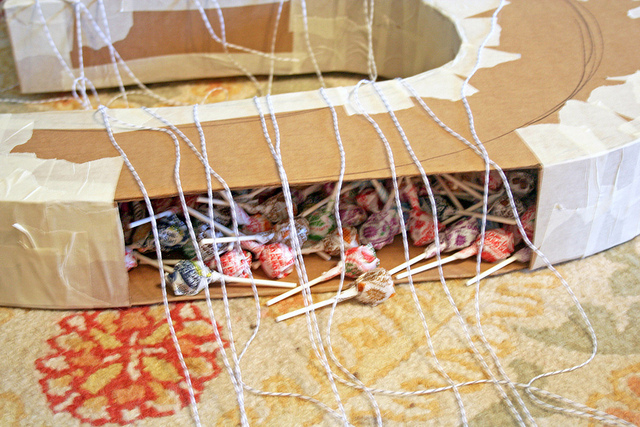
Now you might remember that Ella did not want to hit the pinata with a stick. She wanted a pull string pinata so I had to figure out how to make that work and still look good. I decided to use grey baker’s twine that I package my invitations with. I cut twelve strings in 3.5 foot lengths and laid them over the opening in the bottom of the pinata.
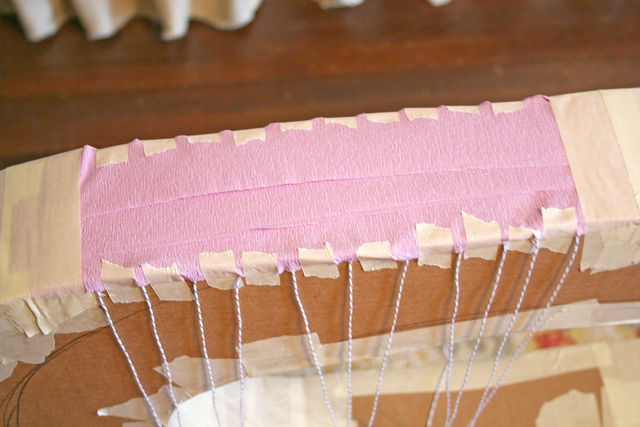
I covered the opening with strips of crepe paper. It was just thick enough to keep the suckers inside, but not so thick that the strings wouldn’t tear it when the kids pulled them out. I used masking tape to secure it on the ends and then a smaller piece in between each string along both sides. I’m not sure if it’s clear, but each string actually crosses over the crepe paper and comes out either side.
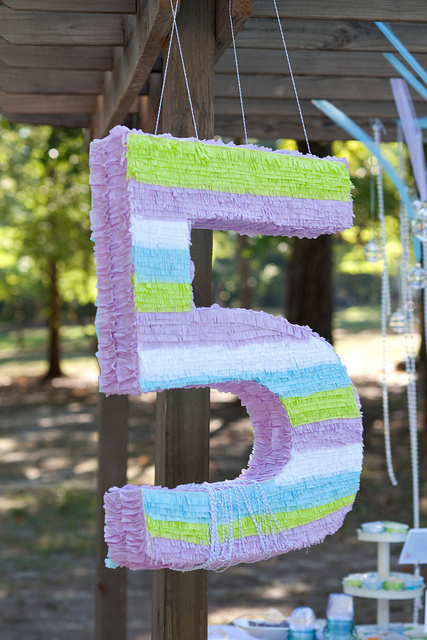
Now, it’s time to decorate. I followed Jordan’s tutorial pretty closely on how to make the strips of fringed crepe paper. The only real difference is that I used crepe paper streamers instead of sheets. I can’t compare the two, but I liked that the streamers were precut in width already, which made this step go a little faster. And by “a little”, I mean it only took me six hours to cover the pinata instead of ten!
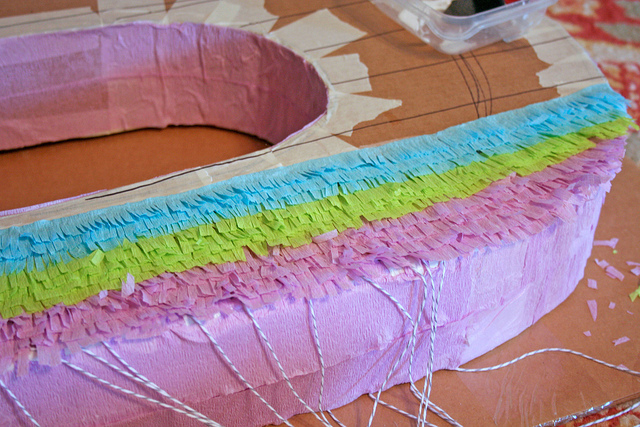
I covered the entire front surface of the pinata in this fashion, but after several hours I knew we had to try something different. Unfortunately, I didn’t manage to snap a picture, but I laid the crepe paper into rows on a bead of white glue and pinched it to make it ruffle (you can the see the sides in the photos below… I covered the back in the same way, just in rows of ruffles).
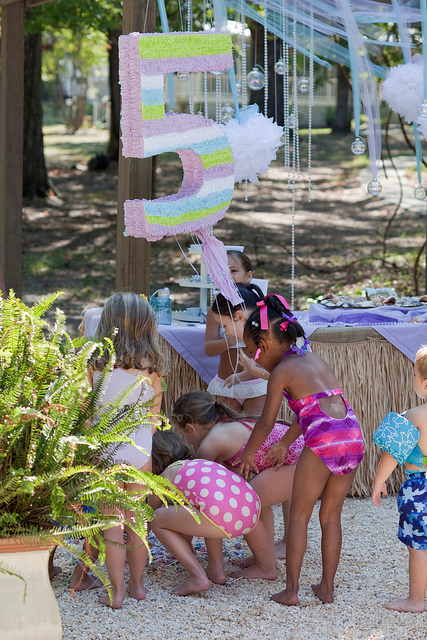
My biggest worry was that after all that work the pinata wouldn’t function. I was seriously nervous when Ella asked for her friends to gather around. Lucky for us, the pinata worked perfectly and the kids were so excited when the candy came out!
