Warning: Affiliate links appear in the following post. Although shopping the embedded links won’t cost you any additional dollars, using the links below to shop may result in a small commission for me. Thanks for supporting the brands that make this blog possible.
If you have been reading here for any amount of time, you must know that I am a huge fan of the Life Planner by Erin Condren. There are so many things that I love about it, but it doesn’t hurt that it’s well designed. I’ve been using them for almost four years now and if you had asked me a month ago, I would have told you I was preparing to order another one. Then I read this post on Amber’s blog.
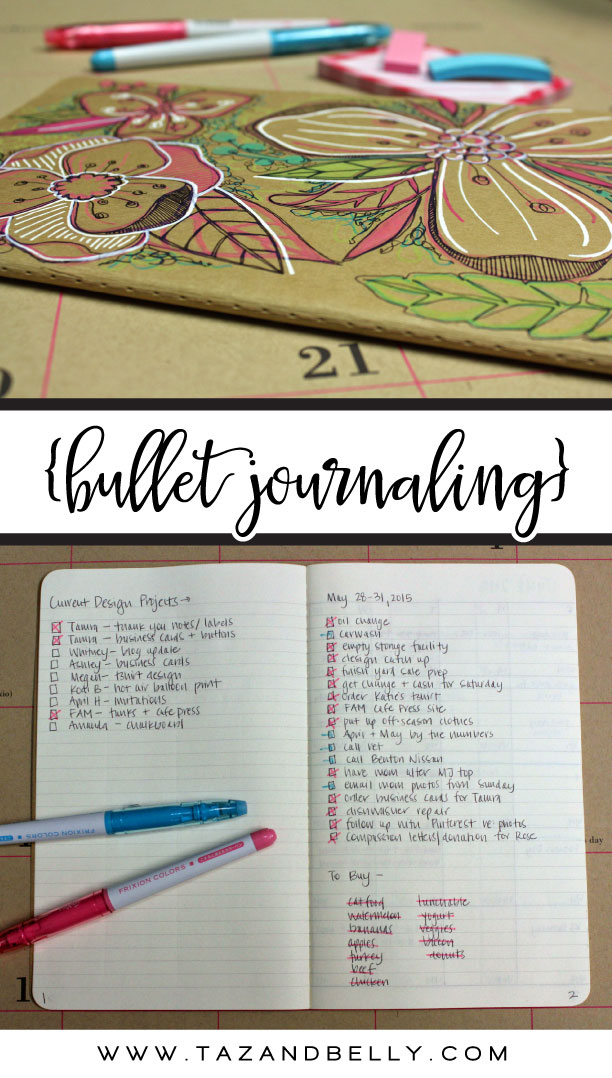
Mostly, I need a place to jot down my to-do list, a few important dates or appointments, shopping lists, meal plans and blog post ideas. As well-intentioned as my planner was, I always {I mean ALWAYS} had one zillion post it notes taped to my desk, stuck on the dash of my car and stapled around my purse straps. I just couldn’t seem to walk away from all the lists. Enter Bullet Journaling.
In case you aren’t familiar at all, Bullet Journaling is a way to leverage your lists and tasks and turn them into a daily/weekly/monthly calendar. Since I kind of abandoned my planner sometime around spring break, I decided to spend the summer using this method and then re-evaluate before school starts back. I’ve only been using this method for a few weeks, but I can already see that it works for me. Now let me tell you three of the reasons why.
I CAN MAKE IT LOOK PRETTY.
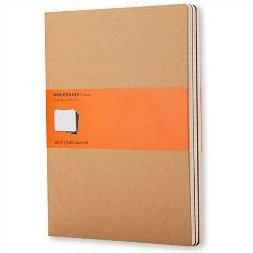
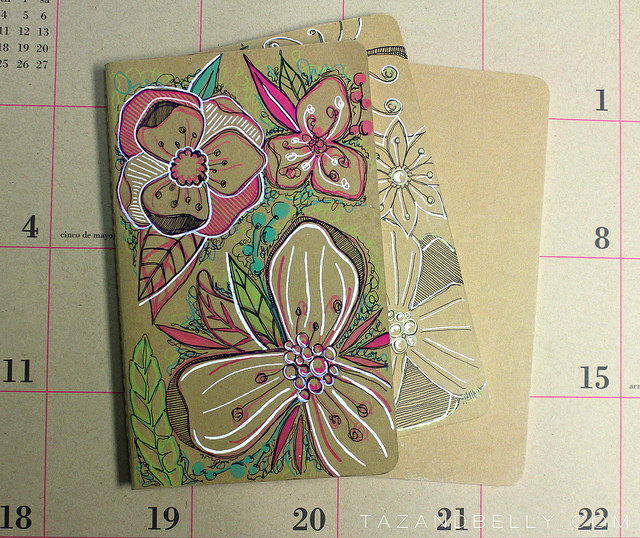
This probably shouldn’t be my biggest motivating factor, but ya’ll know that I love to draw on all the things. A structured planner doesn’t give me any room for creativity since it’s already color coordinated and the pages are filled with a predetermined layout. Since I didn’t want to invest a lot of money into this method right away, I picked up these Kraft Paper Moleskine journals and I got to decorate them all pretty like. Right. Up. My. Alley.
FREEDOM TO CHANGE MY MIND.
Since I’m using a blank journal instead of a planner, I’m not roped into any preset method of journaling or calendaring. One of the things I struggled with in the ECLP {I think I’ve talked about this somewhere before?!} is that the days are divided into three sections for you. This never really worked for the way I used my planner and I couldn’t quite figure out how to utilize all of that space. With the Bullet Journal, if I do something in May that doesn’t really work for me, I can completely change how things are laid out in June. All without buying a new planner or crying over the ways that $75 purchase just isn’t working for me.
IT FITS IN MY PURSE!
One of my biggest complaints with trendy planners is that they are huge. Mammoth even. Since I’m already carrying my massive Bible around with me most days, I don’t have the real estate in my handbag for another big book. And since notebooks and journals come in just about every size imaginable, you can buy one that fits your needs {and your purse} even if it isn’t the same one I’m using.
You can visit the *official* Bullet Journal website to watch a video on how this concept works and for plenty of photographs of a journal in progress. Although it was super helpful in understanding the basics, I had to spend a few weeks using it to really understand how to make it work best for me. Are you ready for another list of reasons why you should dive right in?
THE INDEX.
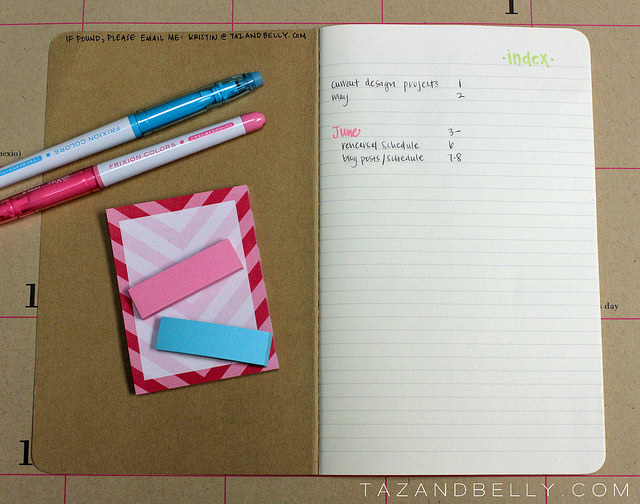
On the first page of the journal {and on the few pages I left blank after that}, you’ll want to create an index. I actually started a new journal at the beginning of this month, so this index is pretty wimpy, but here is where you’ll keep track of your months, lists and sections. Be sure to number the pages of your journal as you go and then flip back here to add them to your index. I create a heading for each month {in color} and then a subheading for each section or topic that falls under that month. The individual sections will have their own page reference and the month itself will eventually have a page range once I move on to July.
THE LISTS.
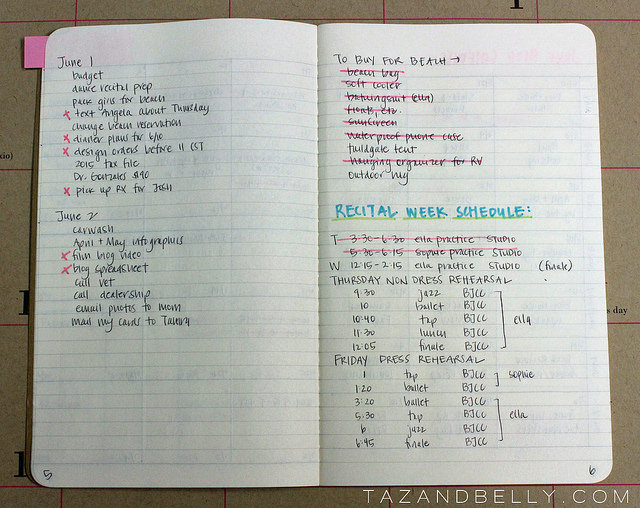
My favorite thing about the Bullet Journal is that in incorporates all of those lists I usually write down on a nearby post-it note. I’m still creating a list of daily tasks {sometimes for a few days depending on how much room I have or what all is on tap} and checking them off as I go, but they are all contained in one place and it’s much less likely that I’ll miss something important. You don’t have to feel like every single day needs a task, just create a list any time it’s warranted. I started off drawing physical check boxes next to each item, but I’ve found that checking them off without the box makes for quicker lists and it’s more convenient for me. In addition to my daily tasks, I have smaller lists for groceries and other items I need to pick up when I’m out and about, as well as a running list of current design clients and projects. If you don’t get to a particular item on the day you listed it, just draw an arrow to indicate you moved it to a new list. Add it onto to today’s “to-dos” and it’s ready for a check mark whenever you get to it.
THE MONTH.
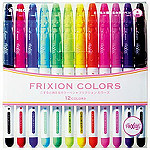
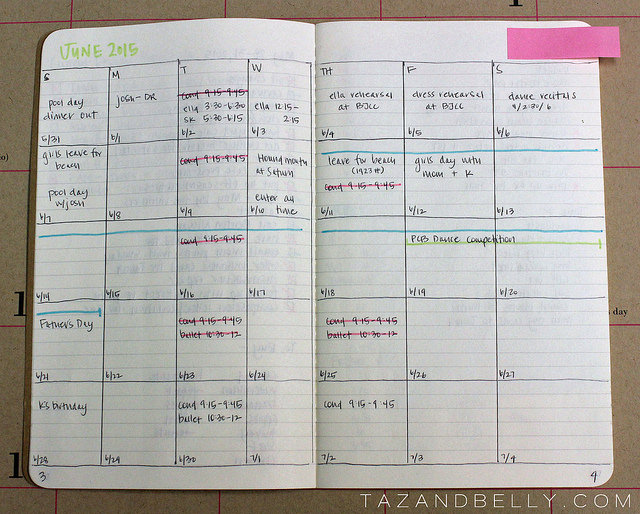
The website suggests keeping your “month at a glance” in a list form, but I figured out pretty early in the month of may that it did not work for me. Instead, I created a monthly spread with four days on the left page and three days on the right that is working much better. I like that it feels more like a calendar and I have bigger boxes for the days with more scheduled tasks. I think in July, I’ll shift the days so that Monday through Thursday are on the left page and Friday through Sunday are on the right. It might take some getting used to having Sunday on the end, but it certainly deserves a bigger box. I’m using erasable markers on this spread to help me better visualize events that last more than one day. Last month I tried washi tape for this purpose, but it took up too much room. This method fits a lot better, but still helps me see immediately when and where we’re going to be traveling.
THE BLOG.
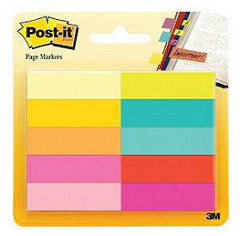
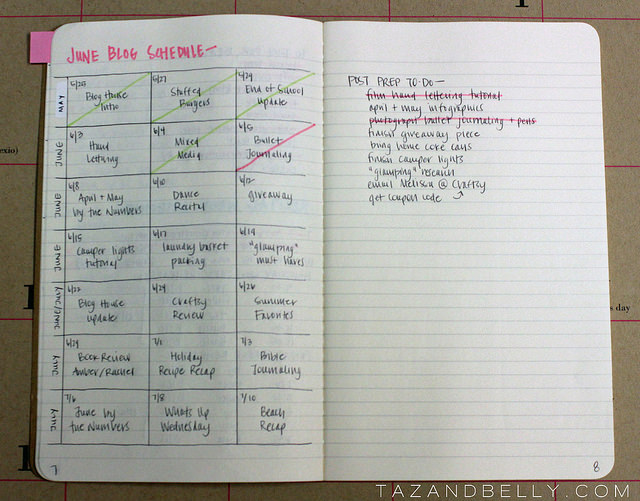
In my previous planner, I was writing blog post ideas in the bottom section of each week. I loved having a place to write it all out so that I knew what post was being published on which day, but only being able to see three posts at a time was frustrating. Sure I could have created an editorial calendar somewhere else, but I really liked having it in the same place as all my other important dates. In the Bullet Journal, I created a single page spread with three columns {I only post three days a week} and it allows me to plan out seven weeks of posts at a time. Last month, I used mini post-it notes for the post ideas so that I could move them around, but once I settled on the schedule for this month, I just went ahead and wrote it on the journal pages instead. Only time will tell if that was a mistake! On the facing page, I just have a short list of blog-related tasks that need to happen in order for the draft posts to make it to the blog. I might have some of them on day specific lists, too, but keeping them all together here makes sure that they get done on time. Once I publish {or schedule} each post, I mark them off the calendar with my marker. Again, I like using color this way so that I can easily see what is finished and what still needs to be done.
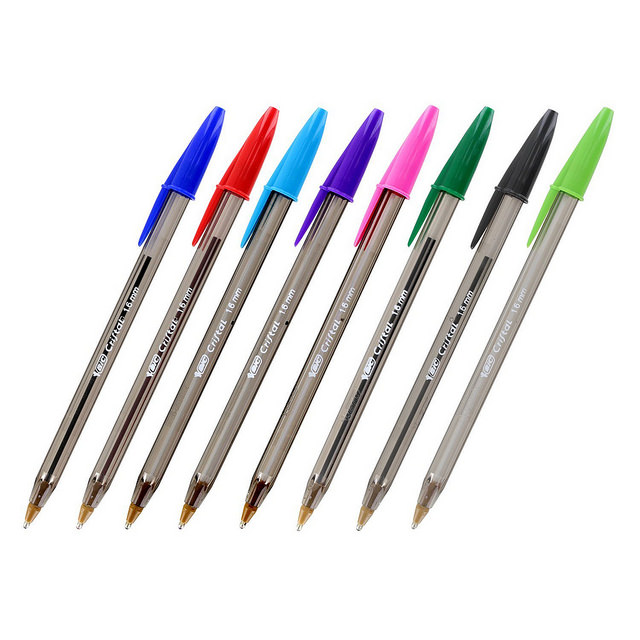
Now what are you waiting for? Go buy a journal! Need help getting started? These are the four products I have been using in my Bullet Journal for the last several weeks.
